Imagine a warm, rustic slice of bread that’s just come out of the oven. Now, what pairs perfectly with that? The options are endless! You can enjoy this versatile bread with creamy butter, slathered generously. Or, try it alongside a tangy vegetable soup – a match made in heaven.
If you’re feeling adventurous, dip it in a rich stew, letting it soak up all those savory flavors. For a light snack, mix it up with a vibrant salad filled with fresh greens and juicy tomatoes. And if you’re craving something sweet, a spread of homemade jam or honey complements it beautifully. Trust me, it’s all about the experience.
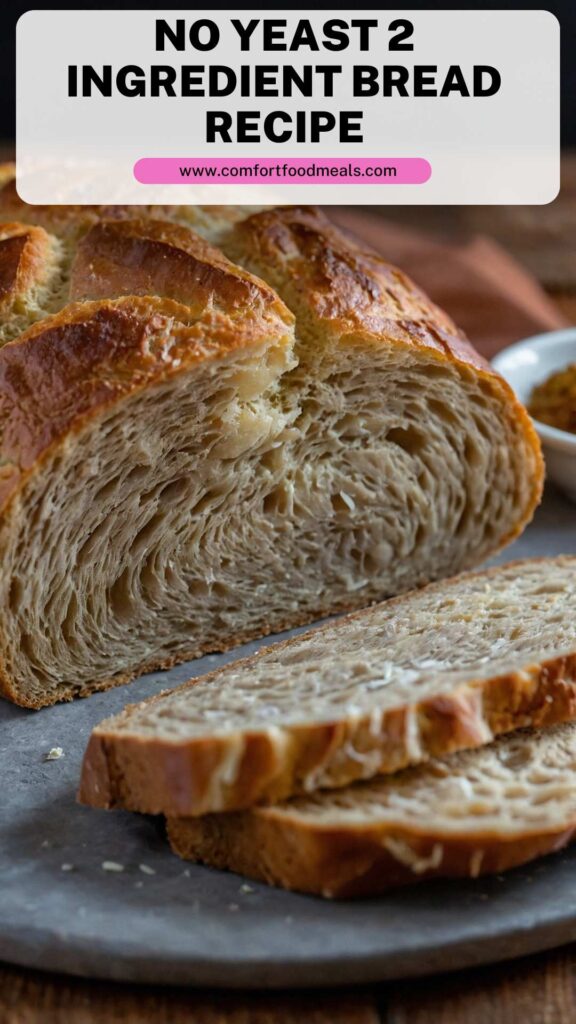
Let’s be honest: not everyone has the time to wait for yeast to do its thing. Whether you’re hosting unexpected guests or just tackling a last-minute dinner, you need quick solutions in the kitchen.
Enter no yeast 2 ingredient bread! This recipe is straightforward, consists of basics you likely already have, and provides delightful results. By understanding the science behind this bread, you can impress your friends and family without breaking a sweat.
You Might Also Like These Recipes!
What is No Yeast 2 Ingredient Bread?
No yeast 2 ingredient bread is a simple and effective way to enjoy fresh bread without the hassle of traditional methods. Instead of yeast, we rely on baking powder and yogurt. This clever combination mimics the effects of yeast, giving you fluffy, tasty bread in no time. It’s a game-changer for those who may lack baking experience or simply want an easy, quick recipe.
Why You’ll Love This No Yeast 2 Ingredient Bread
You might wonder, “Why should I ditch traditional bread recipes for this?” Let me tell you why.
Simplicity: It’s incredibly easy to prepare. With minimal ingredients and effort, you can have bread ready in no time.
No Waiting: No need to rise and knead. Simply mix, shape, and bake! Perfect for that impatient baker in all of us.
Customizable: Want to add herbs, cheese, or spices? Go for it! This recipe is a blank canvas, allowing you to make it uniquely yours.
Healthier Option: With no added sugars or fats, this bread lends itself well to a healthy diet. Substitute plain yogurt for Greek yogurt for an added protein boost.
Great for Beginners: If you’ve never baked bread before, this is the ideal starting point. It builds your confidence without overwhelming you.
The beauty lies in its ability to deliver flavor and texture without the fuss. You’ll love how it pairs effortlessly with any meal or snack.
The Ingredients You Will Need
To whip up this delightful bread, you’ll need just two primary ingredients:
2 1/3 cups (567 g) plain whole-milk yogurt: This not only provides moisture but also helps create the perfect crumb. You can also use Greek yogurt for a thicker consistency.
4 cups (527 g) self-raising flour: The baking powder in this flour eliminates the need for yeast. It’s important to measure accurately to ensure the right texture.
½ teaspoon fine sea salt: A pinch of salt enhances flavors just the way it should.
1 teaspoon baking powder: While self-raising flour already contains this, adding a bit more ensures the bread puffs up nicely.
Directions
Step 1: Preheat Your Oven
Before you begin mixing, preheat your oven to 400°F (200°C). This ensures that your bread will bake evenly and thoroughly.
Step 2: Prepare Your Ingredients
In a large mixing bowl, combine the yogurt and half of the self-raising flour. Stir with a spoon or spatula until it starts to come together.
Step 3: Mix the Dough
Gradually add the remaining self-raising flour. The dough will be sticky initially, but don’t panic! Gently knead the dough on a lightly floured surface for about five minutes. Remember, this isn’t about perfection; just want to bring the ingredients together.
Step 4: Shape the Dough
Once you’ve kneaded the dough, shape it into a round loaf or divide it into smaller pieces, depending on your preference. The goal is to have a consistent thickness for even baking.
Step 5: Place on a Baking Sheet
Transfer your shaped dough onto a lined baking sheet. Feel free to sprinkle a little extra flour on top for aesthetic appeal.
Step 6: Bake
Pop your bread into the preheated oven. Bake for about 25–30 minutes or until the bread is golden brown and sounds hollow when tapped on the bottom.
Step 7: Cool and Serve
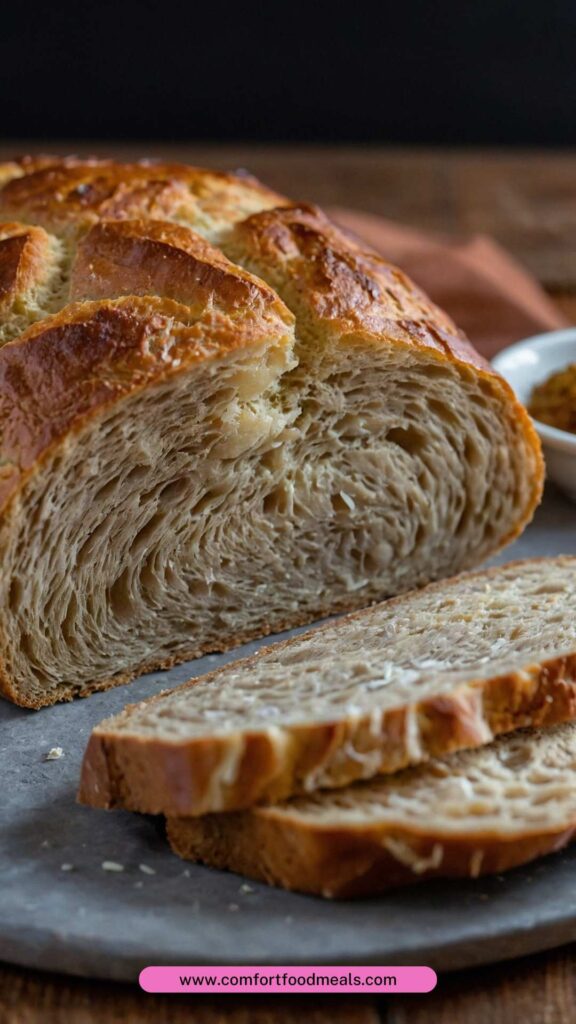
Once done, let it cool on a wire rack for a few minutes. Slice it while warm, and enjoy with your favorite toppings!
Notes
Here are five tips to ensure your no yeast 2 ingredient bread turns out perfectly:
Flour Matters: Always use self-raising flour for the best results. If you have all-purpose flour, you can mix in baking powder in a 1:2 ratio (1 teaspoon baking powder per cup of flour) to create a substitute.
Don’t Over-knead: While it’s tempting to knead until smooth, a little texture can enhance your bread. Overworking can lead to a tougher end product.
Monitor Baking Time: Oven temperatures vary, so start checking your bread at 25 minutes. You want it golden brown, with a hollow sound when tapped.
Experiment with Additions: From herbs and seeds to cheese or even dried fruits, don’t hesitate to get creative!
Serve Fresh: Best eaten fresh from the oven, but don’t worry if you have extras. It’s still delicious the next day when toasted.
Storage Tips
If you somehow have leftovers (though I doubt it!), store the bread in an airtight container. It can last for about 2–3 days at room temperature. If you want to keep it longer, slice and freeze it for up to a month. Just pop slices in the toaster for a quick revive.
Nutrition Information
Per slice (based on a loaf cut into 10 slices without added toppings):
This is a rough estimate, so if you’re tracking your intake, adjust as needed based on any added ingredients.
Serving Suggestions
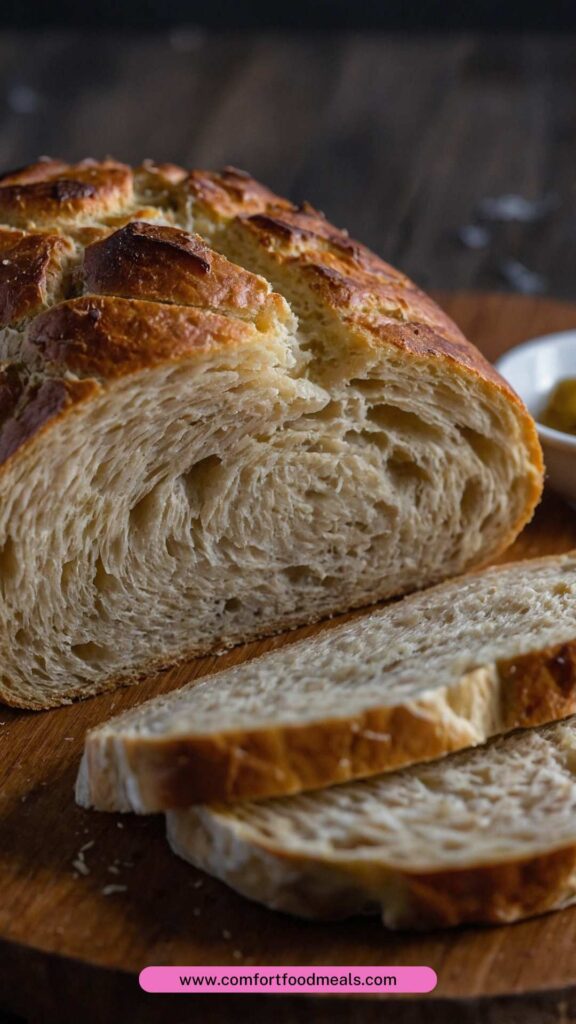
This no yeast 2 ingredient bread is not just a side. Here are five delightful ways to serve it:
Creamy Avocado Toast: Mash ripe avocado on top. Sprinkle with salt, pepper, and chili flakes for a kick.
Simple Garlic Bread: Spread softened butter mixed with minced garlic and parsley. Toast until buttery and golden.
Bolognaise Companion: Serve slices alongside a hearty bowl of bolognaise. Soak up that delicious sauce.
Breakfast Delight: Top with scrambled eggs and a sprinkle of cheese. Protein-packed and oh-so-satisfying!
Fresh Bruschetta: Toast slices and top them with a mix of diced tomatoes, basil, and a drizzle of balsamic reduction. Perfect for gatherings.
What Other Substitutes Can I Use in No Yeast 2 Ingredient Bread?
You can play around with different ingredients to cater to your taste or dietary needs. Here are five alternatives:
Greek Yogurt: Swap plain yogurt for Greek to create a denser bread rich in protein.
Oat Flour: If you want gluten-free options, using oat flour works wonders, though it might affect the texture slightly.
Almond Flour: This adds a nutty flavor, perfect for those who love it, though a binding agent might be needed.
Cottage Cheese: Blend cottage cheese for a unique twist! The moisture it provides matches well with the flour.
Milk Instead of Yogurt: Use buttermilk or milk mixed with lemon juice to create a similar effect to yogurt.
Conclusion
No yeast 2 ingredient bread is a delightful recipe that can easily become a staple in your kitchen. It delivers on taste, is incredibly versatile, and even caters to various dietary restrictions. Adapt it to your liking and enjoy the process along the way.
Remember, baking should be a joy, not a chore. So, grab your ingredients and start whipping up a batch — you’re going to love it!
You Might Also Like These Latest Recipes!

No Yeast 2 Ingredient Bread Recipe – Comfort Food Meals
Description
Let’s be honest: not everyone has the time to wait for yeast to do its thing. Whether you’re hosting unexpected guests or just tackling a last-minute dinner, you need quick solutions in the kitchen.
Enter no yeast 2 ingredient bread! This recipe is straightforward, consists of basics you likely already have, and provides delightful results. By understanding the science behind this bread, you can impress your friends and family without breaking a sweat.
Ingredients
Instructions
Step 1: Preheat Your Oven
-
Before you begin mixing, preheat your oven to 400°F (200°C). This ensures that your bread will bake evenly and thoroughly.
Step 2: Prepare Your Ingredients
-
In a large mixing bowl, combine the yogurt and half of the self-raising flour. Stir with a spoon or spatula until it starts to come together.
Step 3: Mix the Dough
-
Gradually add the remaining self-raising flour. The dough will be sticky initially, but don’t panic! Gently knead the dough on a lightly floured surface for about five minutes. Remember, this isn’t about perfection; just want to bring the ingredients together.
Step 4: Shape the Dough
-
Once you’ve kneaded the dough, shape it into a round loaf or divide it into smaller pieces, depending on your preference. The goal is to have a consistent thickness for even baking.
Step 5: Place on a Baking Sheet
-
Transfer your shaped dough onto a lined baking sheet. Feel free to sprinkle a little extra flour on top for aesthetic appeal.
Step 6: Bake
-
Pop your bread into the preheated oven. Bake for about 25–30 minutes or until the bread is golden brown and sounds hollow when tapped on the bottom.
Step 7: Cool and Serve
-
Once done, let it cool on a wire rack for a few minutes. Slice it while warm, and enjoy with your favorite toppings!
Nutrition Facts
Servings 10
- Amount Per Serving
- Calories 285kcal
- % Daily Value *
- Total Fat 7.7g12%
- Saturated Fat 2g10%
- Cholesterol 7mg3%
- Sodium 182mg8%
- Total Carbohydrate 35g12%
- Dietary Fiber 21g84%
- Sugars 3g
- Protein 33g66%
* Percent Daily Values are based on a 2,000 calorie diet. Your daily value may be higher or lower depending on your calorie needs.
Note
Here are five tips to ensure your no yeast 2 ingredient bread turns out perfectly:
Flour Matters: Always use self-raising flour for the best results. If you have all-purpose flour, you can mix in baking powder in a 1:2 ratio (1 teaspoon baking powder per cup of flour) to create a substitute.
Don’t Over-knead: While it’s tempting to knead until smooth, a little texture can enhance your bread. Overworking can lead to a tougher end product.
Monitor Baking Time: Oven temperatures vary, so start checking your bread at 25 minutes. You want it golden brown, with a hollow sound when tapped.
Experiment with Additions: From herbs and seeds to cheese or even dried fruits, don’t hesitate to get creative!
Serve Fresh: Best eaten fresh from the oven, but don’t worry if you have extras. It’s still delicious the next day when toasted.


