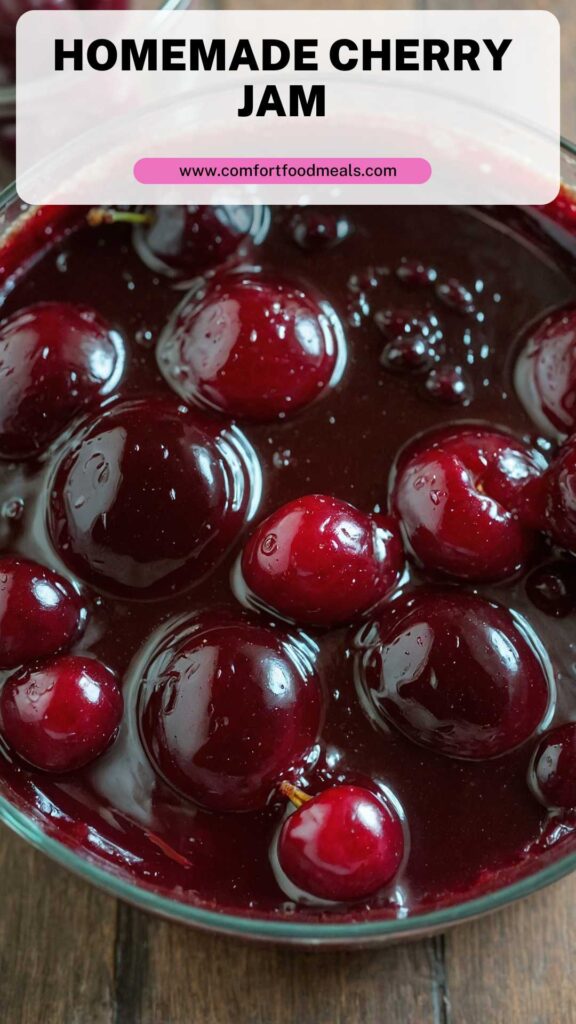
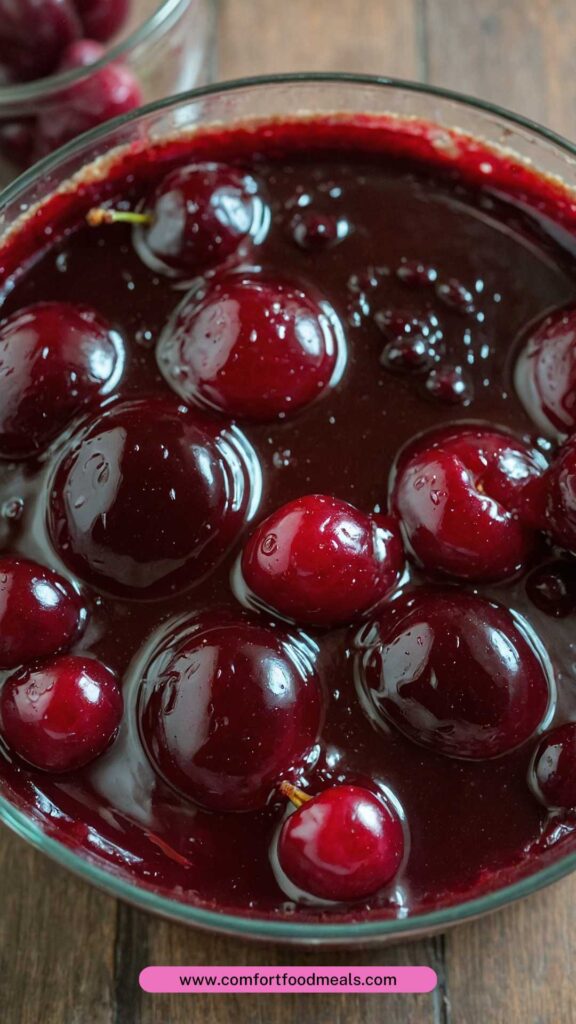
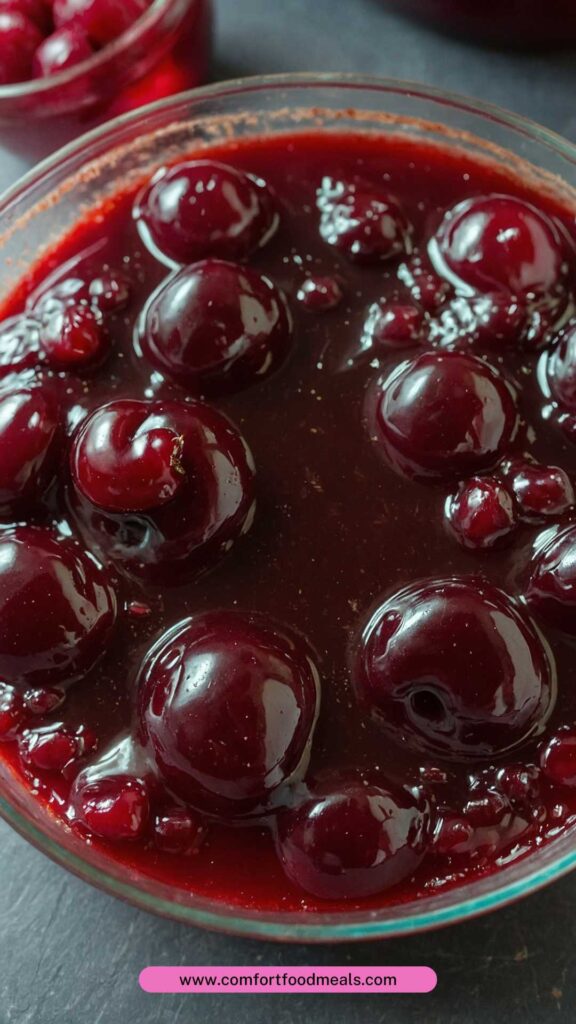
Cherry jam pairs wonderfully with a variety of dishes. Imagine spreading it on a warm slice of homemade bread for breakfast, or drizzling it over Greek yogurt for a satisfying snack. It also complements cheese very well. A wedge of creamy brie topped with cherry jam creates a mouthwatering appetizer.
Additionally, using cherry jam as a filling in pastries transforms ordinary baked goods into delightful treats. Don’t forget about marinating meats — a touch of this sweet and tart jam can elevate your chicken or pork to a picnic-worthy dish.

Who doesn’t love a good homemade jam? There’s something about the process that feels rewarding. Cherry jam has always held a special place in my heart. Growing up, my grandmother would make giant batches every summer.
The smell of simmering cherries on the stove was intoxicating. I would sit nearby, eagerly waiting for the slight pop of a jar sealing, knowing that soon I’d have jars full of luscious cherry heaven to enjoy.
In this article, I’m excited to share my homemade cherry jam recipe with you. It’s simple, full of flavor, and is sure to leave you with a smile. Let’s dive into the magic of cherries and how to capture their essence in a jar!
You Might Also Like These Recipes!
What is Homemade Cherry Jam?
Homemade cherry jam is a sweet, spreadable condiment made from ripe cherries, sugar, and a few simple ingredients. Unlike store-bought versions, which may contain preservatives and added sugars, this homemade recipe allows you to control the sweetness and flavor profile. It’s a preservation technique that celebrates seasonal fruit, enabling you to enjoy the taste of summer throughout the year.
How Does It Taste?
Homemade cherry jam brings a perfect balance of sweetness and tartness. The cherries provide a vibrant flavor that dances on your palate. Each spoonful is smooth with a slight texture, featuring bursts of cherry goodness. You’ll experience bright notes from the fresh fruit, complemented by hints of vanilla and a touch of warmth from the cinnamon.
Why You’ll Love This?
You’ll love this jam for several reasons. First, it’s incredibly easy to make with just a handful of ingredients. Second, it’s adaptable; you can control how sweet or tangy you want it. Third, making jam can be a fun project that is satisfying by itself. Imagine filling your pantry with beautiful jars of homemade cherry jam, ready to be enjoyed or given as thoughtful gifts.
Ingredients
Before we jump into the step-by-step process, let’s gather our ingredients:
- 2 cups granulated cane sugar
- 1/8 teaspoon ground cinnamon
- 1 tablespoon freshly squeezed lemon juice
- 6 cups pitted ripe cherries
- ½ teaspoon pure vanilla extract
These simple ingredients create a delightful jam bursting with flavor.
Step-by-Step Directions
Step 1: Prepare Your Cherries
Start by washing your cherries thoroughly. Remove the stems and pits. If you have a cherry pitter, use it; if not, a small knife works too. Cut each cherry in half and set them aside in a large bowl. Take a moment to admire those shiny, red beauties—after all, they will be the star of this recipe!
Step 2: Cook the Cherries
In a large pot, combine the pitted cherries with the sugar. Stir it gently to coat the cherries with sugar. Allow this to sit for about 30 minutes. This process draws out the natural juices of the cherries, creating a delicious syrup.
Step 3: Add the Flavorings
After the cherries have sat for a while, place the pot over medium heat. Stir in the ground cinnamon, lemon juice, and vanilla extract. As the mixture heats, the cherries will begin to break down, and soon, your kitchen will be filled with a delightful aroma!
Step 4: Bring to a Boil
Increase the heat and bring the mixture to a rolling boil. Stir occasionally. You want this bubbling away to ensure an even cook. It’s an exciting part of the process—watch it transform into a jammy consistency.
Step 5: Test for Doneness
After about 15-20 minutes of boiling, it’s time to check your jam. To test for doneness, take a spoonful of the mixture and place it on a cold plate. Let it sit for a minute, then run your finger through it. If it holds its shape and doesn’t run back together, congratulations, your jam is ready!
Step 6: Fill Your Jars
Remove the pot from heat. Carefully ladle the hot jam into sterilized jars, leaving about a quarter-inch of space at the top. Wipe the rims of the jars to ensure a clean seal.
Step 7: Seal the Jars
Place the lids on the jars and screw on the metal bands. If you plan to refrigerate or consume the jam quickly, you can skip the canning process. However, if you want to store them long-term, follow standard canning guidelines.

Tips on Making Homemade Cherry Jam
- Use ripe cherries: The riper the cherries, the more flavorful your jam will be. Look for cherries that are deep red and firm.
- Adjust sweetness: If you prefer a less sweet jam, feel free to reduce the sugar. Just note that the texture may be slightly different.
- Experiment with flavors: Don’t hesitate to add other flavorings. A few sprigs of fresh thyme or even some almond extract can create delightful twists.
- Sterilize jars properly: If you are canning, ensure your jars are sterilized. Boiling them in water for 10 minutes will do the trick.
- Cool completely before storing: Allow the jam to cool to room temperature before sealing and storing it. This helps the flavors meld and enhances the taste.
Nutrition Information
Here is the nutritional breakdown per tablespoon of cherry jam:
- Calories: 50
- Total Fat: 0g
- Sodium: 0mg
- Total Carbohydrates: 13g
- Sugars: 12g
- Protein: 0g
This jam is a delightful treat, but should be enjoyed in moderation due to its sugar content.

How Do You Store This Homemade Cherry Jam Recipe?
After making your delicious cherry jam, storage is crucial. If you followed canning guidelines, store the jars in a cool, dark place. Properly canned cherry jam can last for up to a year. Once you open a jar, keep it in the refrigerator and use it within a month.
If you chose to skip canning, store the jam in a clean glass jar with a lid in the refrigerator, where it should last for about three weeks.
What Other Substitutes Can You Use in Homemade Cherry Jam Recipe?
- Honey: Replace granulated sugar with honey for a natural sweetener. Use about 1 cup of honey for 2 cups of sugar.
- Maple Syrup: For a unique flavor, swap sugar with maple syrup. It will add a subtle maple taste, which can be delightful.
- Agave Syrup: This is a vegan alternative that can replace granulated sugar in equal parts.
- Stevia: If you’re looking to cut sugar, stevia is a fantastic choice. It is much sweeter than sugar, so you’ll need much less—about 1 teaspoon for every tablespoon of sugar is a good starting point.
- Pectin: If you want to bind to the jam without using as much sugar, consider adding commercial pectin, allowing for a lower-sugar preserve.
Conclusion
Making homemade cherry jam is not just a cooking project; it’s a way to cherish memories, savor seasonal produce, and enjoy the fruits of your labor. With its bright flavor and versatility, cherry jam is bound to delight family and friends.
Whether you spread it on toast, use it in desserts, or add a dollop to savory dishes, the possibilities are endless. So gather your ingredients, roll up your sleeves, and start this sweet adventure. Happy jam-making!
You Might Also Like These Latest Recipes!

Homemade Cherry Jam – Comfort Food Meals
Description
Who doesn't love a good homemade jam? There’s something about the process that feels rewarding. Cherry jam has always held a special place in my heart. Growing up, my grandmother would make giant batches every summer.
The smell of simmering cherries on the stove was intoxicating. I would sit nearby, eagerly waiting for the slight pop of a jar sealing, knowing that soon I’d have jars full of luscious cherry heaven to enjoy.
Ingredients
Instructions
Step 1: Prepare Your Cherries
-
Start by washing your cherries thoroughly. Remove the stems and pits. If you have a cherry pitter, use it; if not, a small knife works too. Cut each cherry in half and set them aside in a large bowl. Take a moment to admire those shiny, red beauties—after all, they will be the star of this recipe!
Step 2: Cook the Cherries
-
In a large pot, combine the pitted cherries with the sugar. Stir it gently to coat the cherries with sugar. Allow this to sit for about 30 minutes. This process draws out the natural juices of the cherries, creating a delicious syrup.
Step 3: Add the Flavorings
-
After the cherries have sat for a while, place the pot over medium heat. Stir in the ground cinnamon, lemon juice, and vanilla extract. As the mixture heats, the cherries will begin to break down, and soon, your kitchen will be filled with a delightful aroma!
Step 4: Bring to a Boil
-
Increase the heat and bring the mixture to a rolling boil. Stir occasionally. You want this bubbling away to ensure an even cook. It’s an exciting part of the process—watch it transform into a jammy consistency.
Step 5: Test for Doneness
-
After about 15-20 minutes of boiling, it's time to check your jam. To test for doneness, take a spoonful of the mixture and place it on a cold plate. Let it sit for a minute, then run your finger through it. If it holds its shape and doesn’t run back together, congratulations, your jam is ready!
Step 6: Fill Your Jars
-
Remove the pot from heat. Carefully ladle the hot jam into sterilized jars, leaving about a quarter-inch of space at the top. Wipe the rims of the jars to ensure a clean seal.
Step 7: Seal the Jars
-
Place the lids on the jars and screw on the metal bands. If you plan to refrigerate or consume the jam quickly, you can skip the canning process. However, if you want to store them long-term, follow standard canning guidelines.
Nutrition Facts
Servings 1
- Amount Per Serving
- Calories 50kcal
- % Daily Value *
- Total Carbohydrate 13g5%
- Sugars 12g
* Percent Daily Values are based on a 2,000 calorie diet. Your daily value may be higher or lower depending on your calorie needs.
Note
- Use ripe cherries: The riper the cherries, the more flavorful your jam will be. Look for cherries that are deep red and firm.
- Adjust sweetness: If you prefer a less sweet jam, feel free to reduce the sugar. Just note that the texture may be slightly different.
- Experiment with flavors: Don’t hesitate to add other flavorings. A few sprigs of fresh thyme or even some almond extract can create delightful twists.
- Sterilize jars properly: If you are canning, ensure your jars are sterilized. Boiling them in water for 10 minutes will do the trick.
Cool completely before storing: Allow the jam to cool to room temperature before sealing and storing it. This helps the flavors meld and enhances the taste.


