When thinking about pairing options for gravy drippings, beef and poultry dishes immediately come to mind—think roasted turkey, juicy beef roasts, or even crispy fried chicken. The rich, savory profile of gravy drippings complements these proteins exquisitely.
Try drizzling it over mashed potatoes or baked vegetables for an added burst of flavor. It can also double as a dipping sauce for biscuits or crusty bread. Imagine that warm, homemade bread soaking up those flavorful juices!
Those drippings aren’t just for the main course; they can elevate vegetables, or even serve as a base for soups. There are endless possibilities for integrating gravy drippings into your meals, and they can take your dinners from ordinary to gourmet with ease.

Welcome to the savory world of gravy drippings! If you’ve ever roasted a chicken or a turkey and found yourself staring into the pan wondering what to do with those delectable juices, you’re not alone. I have been there—gazing at the remnants of a meal that holds so much potential. That’s when I decided to dive deep into the art of making gravy drippings.
Understanding how to turn those golden drippings into a flavorful sauce can save your dinners and impress your guests. In this guide, I’ll share everything you need to know about gravy drippings, from the basics to step-by-step instructions and even some pro tips. Join me as we explore a vital cooking technique that can enhance any dish.
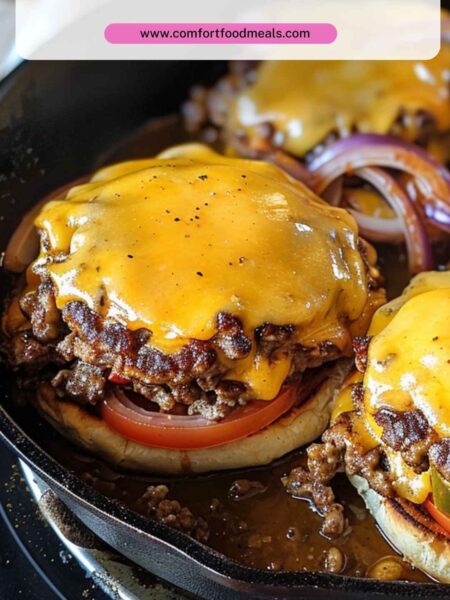
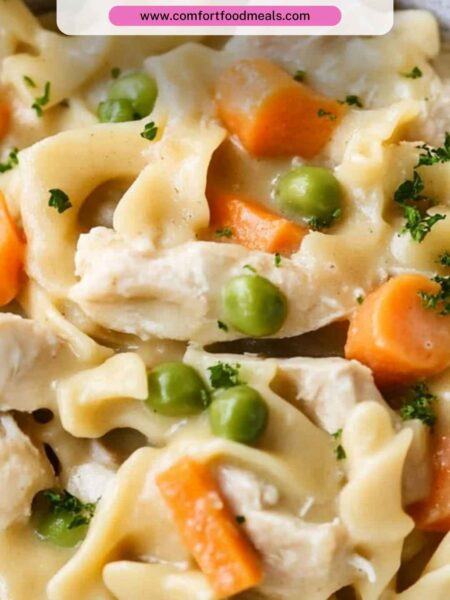
You Might Also Like These Recipes!
What is Gravy Drippings?
Gravy drippings are flavorful liquids that remain in the roasting pan after cooking meat. They are typically a mix of fat, juices, and any bits of meat or vegetables that have caramelized during cooking. This isn’t just any liquid; it’s nature’s way of creating a sauce that captures all the beautiful flavors from the roasted meat and aromatics sitting in the pan.
When properly made into gravy, these drippings transform into a rich, savory sauce that adds moisture and richness to your meal. Think of it as a culinary gold mine, ready to enhance your dishes.
How Does It Taste Like?
Imagine a flavorful burst of umami goodness that wraps around your taste buds. Gravy drippings are surprisingly versatile. The taste depends on the meat used and any seasoning added during cooking. Generally, they offer a deeply savory flavor, with hints of sweetness from caramelized bits and sometimes a touch of acidity if you add a splash of vinegar or lemon juice.
When you combine the drippings with spices and herbs, the flavors amplify, creating a sauce that tantalizes and delights. It’s like a warm hug on a plate.
Why You’ll Love This
If you’re looking for a way to elevate everyday meals, look no further than gravy drippings. They’re simple to make, require minimal ingredients, and the taste is out of this world.
- Versatility: Use drippings in various recipes beyond just gravy. They can add flair to soups, risottos, and sauces.
- Simplicity: You don’t need fancy tools or equipment. Just a roasting pan and a whisk is all it takes to create goodness from leftovers.
- Flavor Explosion: The rich flavors found in gravy drippings enhance tastes and aromas in your dishes, turning the ordinary into extraordinary.
- Cost-Effective: Making gravy from drippings is a smart way to ensure nothing goes to waste, making the most of your meat.
- Crowd-Pleaser: Whether you’re serving family on a weeknight or hosting guests, this is sure to impress!
Ingredients
To create savory gravy drippings, you will need the following:
- 4 tablespoons (2 oz) salted butter, cubed for easier melting
- 2 tablespoons flavorful fat skimmed from roast pan drippings
- 2 tablespoons (15g) plain all-purpose flour
- 2 cups warm water, chicken stock, or milk — depending on richness desired
- 1 teaspoon Dijon mustard (adds subtle tang and complexity)
- ½ teaspoon garlic powder (for extra depth)
- Freshly squeezed lemon juice, to brighten flavor — add to taste
- Salt and freshly ground black pepper, to taste
Step-by-Step Directions
Step 1: Gather Your Drippings
After roasting your meat, allow it to rest for a few minutes while you collect your drippings. Make sure to carefully pour off the excess fat from the roasting pan. Use a fat separator if you have one.
Step 2: Create a Roux
In a separate saucepan over medium heat, add the butter. Once it melts, quickly whisk in the flour. It’s essential to stir continuously for about two minutes. This step cooks out the raw flour taste and gives the gravy a lovely base.
Step 3: Incorporate the Drippings
Gradually whisk in the skimmed drippings and any other liquid you’re using (chicken stock, etc.). Whisking continuously helps prevent lumps from forming. Keep stirring until the mixture begins to thicken.
Step 4: Flavor It Up
Once the drippings are fully incorporated, add the Dijon mustard and garlic powder. These ingredients enhance the gravy’s flavor profile significantly.
Step 5: Adjust Consistency
While whisking, slowly add in your warm water, stock, or milk until the desired consistency is reached. For thicker gravy, use less liquid.
Step 6: Season to Taste
Finally, taste your gravy and add freshly squeezed lemon juice, salt, and black pepper to balance the flavors. This step is crucial; it can make or break your dish!

Tips On Making Gravy Drippings
- Use a Fat Separator: This gadget helps you easily separate fat from drippings, leaving you with pure flavor.
- Don’t Skimp on the Cooking Time: Allow the roux to cook for at least two minutes to get rid of the raw flour flavor.
- Avoid Lumps: Whisk continuously while adding liquid; this will help create a smooth gravy without lumps.
- Experiment with Add-ins: Try adding herbs like thyme or rosemary for added flavor.
- Serve Immediately: Gravy drippings taste best fresh. If you need to store them, see the storage section below.
Nutrition Information
Gravy drippings contain calories primarily from fats and carbohydrates. A typical serving has:
- Calories: ~100-150 (varies based on fat content)
- Total Fat: ~10g
- Carbohydrates: ~3g
- Protein: ~1g
- Sodium: ~300mg
Depending on what you add, the nutritional value can change significantly.

How Do You Store Gravy Drippings?
To store leftover gravy drippings:
- Cool down: Allow the gravy to cool to room temperature.
- Container: Transfer to an airtight container or a sealable plastic bag.
- Refrigerate: Store in the fridge for up to 3 days.
- Freezing: For longer storage, freeze in small portions for up to 3 months.
When ready to use, thaw in the fridge overnight and reheat on the stove, whisking well.
What Other Substitutes Can You Use in Gravy Drippings?
There are some excellent alternatives if you’re in a pinch:
- Vegetable Broth: This can be a great base if you’re cooking without meat.
- Mushroom Broth: Adds an incredible umami flavor, especially if you want to make a vegetarian gravy.
- Wine: A splash of red or white wine can replace some of the drippings for a sophisticated flavor.
- Soy Sauce: It can enrich the taste, especially in Asian-inspired dishes.
- Coconut Milk: Adds creaminess and a unique flavor for a gluten-free option.
Conclusion
Gravy drippings can elevate your meals to new heights. More than just liquid left in a roasting pan, they hold a treasure trove of flavor waiting to be unleashed. Whether you’re pouring them over mashed potatoes, using them to create a luscious gravy, or incorporating them into a sauce, they represent the heart of home cooking.
By mastering the art of gravy drippings, you can not only save resources but also impress whoever sits at your table. So, the next time you roast a meal, remember those drippings are more than just remnants—they’re the key to deliciousness. Grab your pan, follow the steps, and make your dinner something to remember!
You Might Also Like These Latest Recipes!

Gravy Drippings – Comfort Food Meals
Description
Welcome to the savory world of gravy drippings! If you’ve ever roasted a chicken or a turkey and found yourself staring into the pan wondering what to do with those delectable juices, you’re not alone. I have been there—gazing at the remnants of a meal that holds so much potential. That’s when I decided to dive deep into the art of making gravy drippings.
Understanding how to turn those golden drippings into a flavorful sauce can save your dinners and impress your guests. In this guide, I’ll share everything you need to know about gravy drippings, from the basics to step-by-step instructions and even some pro tips. Join me as we explore a vital cooking technique that can enhance any dish.
Ingredients
Instructions
Step 1: Gather Your Drippings
-
After roasting your meat, allow it to rest for a few minutes while you collect your drippings. Make sure to carefully pour off the excess fat from the roasting pan. Use a fat separator if you have one.
Step 2: Create a Roux
-
In a separate saucepan over medium heat, add the butter. Once it melts, quickly whisk in the flour. It's essential to stir continuously for about two minutes. This step cooks out the raw flour taste and gives the gravy a lovely base.
Step 3: Incorporate the Drippings
-
Gradually whisk in the skimmed drippings and any other liquid you’re using (chicken stock, etc.). Whisking continuously helps prevent lumps from forming. Keep stirring until the mixture begins to thicken.
Step 4: Flavor It Up
-
Once the drippings are fully incorporated, add the Dijon mustard and garlic powder. These ingredients enhance the gravy's flavor profile significantly.
Step 5: Adjust Consistency
-
While whisking, slowly add in your warm water, stock, or milk until the desired consistency is reached. For thicker gravy, use less liquid.
Step 6: Season to Taste
-
Finally, taste your gravy and add freshly squeezed lemon juice, salt, and black pepper to balance the flavors. This step is crucial; it can make or break your dish!
Nutrition Facts
Servings 6
- Amount Per Serving
- Calories 100kcal
- % Daily Value *
- Total Fat 10g16%
- Sodium 300mg13%
- Total Carbohydrate 3g1%
- Protein 1g2%
* Percent Daily Values are based on a 2,000 calorie diet. Your daily value may be higher or lower depending on your calorie needs.
Note
- Use a Fat Separator: This gadget helps you easily separate fat from drippings, leaving you with pure flavor.
- Don’t Skimp on the Cooking Time: Allow the roux to cook for at least two minutes to get rid of the raw flour flavor.
- Avoid Lumps: Whisk continuously while adding liquid; this will help create a smooth gravy without lumps.
- Experiment with Add-ins: Try adding herbs like thyme or rosemary for added flavor.
- Serve Immediately: Gravy drippings taste best fresh. If you need to store them, see the storage section below.