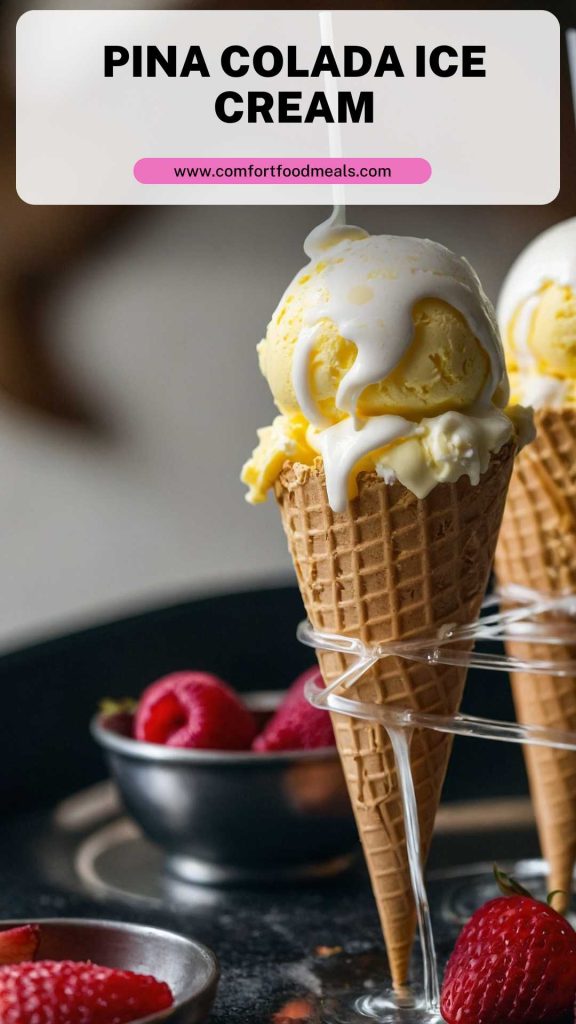
Pina colada ice cream is a delightful summer treat that captures the essence of tropical vacations. To make your experience even better, pair it with fresh berries, a sprinkle of toasted coconut, or a drizzle of chocolate sauce.
Want to impress your guests? Serve it alongside coconut macaroons or slices of buttery pound cake. Each pairing brings out the creamy deliciousness of the ice cream while balancing its sweetness. Dive into this delightful dessert, and let’s explore how to make your own batch of pina colada ice cream!
Imagine a beach vacation where the sun kisses your skin and the sound of waves soothes your soul. For many, this evokes the classic piña colada—a cocktail bursting with tropical flavors. But what if you could bottle that bliss and serve it as ice cream? That's where the magic of piña colada ice cream comes in.
It’s rich, creamy, and refreshingly sweet. Best of all, it’s a dessert that you can make at home, channeling all the joys of summer anytime you want. As someone who loves bringing flavors together, I must say, this dessert is a game changer! Prepare to embark on a journey that combines seaside calm with kitchen adventure.
Pina colada ice cream is a frozen dessert that blends the traditional flavors of the piña colada cocktail—coconut, pineapple, and a hint of rum—into a creamy, frozen treat. This ice cream results from mixing different dairy and flavor components until they form a luscious blend.
When frozen, the combination yields a silky texture that evokes memories of tropical beaches. Imagine pulling a scoop of this ice cream from your freezer; each taste transports you to a sun-drenched paradise. Made from easily accessible ingredients, making it can turn any day into a vacation.
What is the Flavor Profile of This Dish?
Think about what piña coladas taste like. The ice cream replicates that ideal combination:
Coconut: Gives a creamy, rich base and a slight nuttiness.
Pineapple: Offers sweetness and a tangy kick, bringing freshness.
Rum (optional): Adds warmth and depth, but you can easily leave it out for a family-friendly version.
Lime Zest: Infuses a pop of brightness and balances the sweetness.
Together, these flavors create a delightful experience. The ice cream has a tropical flair that is perfect for cooling down on hot days. Each scoop invites nostalgia while keeping you coming back for more.
What Makes This Recipe Different From Other Pina Colada Ice Cream?
Many recipes for piña colada ice cream rely on store-bought mixes or don’t balance the flavors effectively. My approach enhances the natural components while tailor-fitting the ingredients for a homemade spin. What makes my recipe stand out is:
Full-Fat Coconut Cream: This boosts the richness and gives a texture that transports you directly to a beach.
Sweetened Condensed Milk: Acts as a fantastic sweetener and adds a delightful creaminess without excessive churning.
Fresh Ingredients: Using real pineapple chunks and lime zest enhances the flavor profile and ensures freshness.
Optional Rum: It allows a customizable experience; you can adjust according to your preference.
Switching from pre-packaged junk to wholesome ingredients transforms the whole ice cream experience.
Ingredients You'll Need
Alright, let's break down what you'll need for the ultimate piña colada ice cream:
400 ml full-fat coconut cream
150 ml heavy double cream
397 g sweetened condensed milk
75 ml pineapple juice (from the canned chunks)
250 g canned pineapple chunks, drained
75 ml white rum (optional, for a boozy kick)
30 g shredded desiccated coconut
1 teaspoon vanilla extract
1 tablespoon freshly grated lime zest
With these ingredients, you’ll whip up a fun, creamy treat that your taste buds will love.
Step-by-Step Directions
Let’s make this deliciousness step by step!
Step 1: Prepare the Ingredients
Start by gathering all your ingredients. Make sure to drain the canned pineapple well. Set aside a few chunks for garnish later, if you like.
Step 2: Mix the Cream Base
In a large mixing bowl, combine the full-fat coconut cream, heavy double cream, and sweetened condensed milk. Use a whisk or electric mixer and blend until smooth. The mixture should be rich and creamy. Take a moment to really enjoy that coconut aroma.
Step 3: Add the Flavorings
Once your cream base is smooth, it's time to add flavor! Slowly mix in the pineapple juice, white rum (if using), shredded coconut, vanilla extract, and lime zest. Make sure everything is well combined. The sweetness of the condensed milk meets the tang of lime perfectly. Trust me; you’re going to want to taste this!
Step 4: Incorporate Fresh Pineapple
Gently fold in the canned pineapple chunks. This adds texture and bursts of real fruit flavors. Be careful not to overmix; you want those chunks to remain intact. This step is crucial for that authentic piña colada vibe!
Step 5: Freeze the Mixture
Pour the mixture into an airtight container. Seal it tightly, and pop it into the freezer. Let it freeze for about 4-6 hours, or until it becomes firm enough to scoop.
Step 6: Scoop and Serve
Once your ice cream is set, take it out. Let it sit at room temperature for a few minutes. This makes it easier to scoop. Serve it in bowls or cones, or get adventurous and create a sundae!
Tips on Making Pina Colada Ice Cream
Here are five insider tips to boost your piña colada ice cream making skills:
Opt for Full-Fat Coconut Milk: It’s essential for that luscious texture. Low-fat options won’t yield the same creaminess.
Don’t Skimp on Lime Zest: A little zest goes a long way in brightening up the flavors. This is key to achieving a balanced taste.
Taste as You Go: Adjust the sweetness and flavors to your liking. You control how coconutty or fruity it is!
Nix Ice Crystals: To avoid icy chunks, stir your ice cream every 30 minutes in the first few hours. This helps incorporate air and improves texture.
Let It Sit Before Serving: Giving the ice cream a few minutes will make it more scoopable, ensuring everyone enjoys perfectly rounded portions.
Nutrition Information
Let’s get down to the nitty-gritty of what you’re indulging in. Here's a breakdown per serving (about 1/2 cup):
Calories: Approximately 300
Total Fat: 20g (Saturated Fat: 15g)
Carbohydrates: 30g (Sugar: 28g)
Protein: 2g
While this is a dessert to savor, it sure is rich in flavor and takes you to tropical skies!
How Can I Store This Pina Colada Ice Cream?
To store your ice cream, keep it in a sealed airtight container. It stays fresh for about 2-4 weeks. Keep in mind that ice cream may become harder after long storage. Take it out a little earlier before serving to soften it. Resisting that icy treat for hours is tough, believe me!
Ingredient Substitutes
Not everything in your kitchen must be the exact match. If you’re missing an item, here are some substitutes you can use:
Coconut Cream: If you don't have full-fat coconut cream, you can opt for regular coconut milk. However, your ice cream will be less creamy. Try to choose a premium brand for a better flavor.
Heavy Double Cream: If you're looking for a lighter option, use half-and-half. Your ice cream's richness will reduce, but it will still taste good.
Sweetened Condensed Milk: For a dairy-free option, coconut condensed milk can fill in nicely. It retains sweetness and keeps that tropical vibe intact.
White Rum: To keep things non-alcoholic, consider using coconut extract for flavor, or simply leave it out entirely. Your ice cream remains delightful without it!
Conclusion
Pina colada ice cream is not just a dessert; it is an experience that brings sunny vibes to your kitchen. The combination of coconut, pineapple, and lime zest is enough to make anyone’s day better. Whether you are enjoying this treat solo or serving it up at a festive gathering, it is bound to please.
Dive into this recipe, and before you know it, you’ll be reminiscing about warm beach days with every scoop. So, what are you waiting for? Get your ingredients, gather your loved ones, and start making some unforgettable memories—one delicious scoop at a time!
Imagine a beach vacation where the sun kisses your skin and the sound of waves soothes your soul. For many, this evokes the classic piña colada—a cocktail bursting with tropical flavors. But what if you could bottle that bliss and serve it as ice cream? That's where the magic of piña colada ice cream comes in.
It’s rich, creamy, and refreshingly sweet. Best of all, it’s a dessert that you can make at home, channeling all the joys of summer anytime you want. As someone who loves bringing flavors together, I must say, this dessert is a game changer! Prepare to embark on a journey that combines seaside calm with kitchen adventure.
Ingredients
400ml full-fat coconut cream
150ml heavy double cream
397g sweetened condensed milk
75ml pineapple juice (from the canned chunks)
250g canned pineapple chunks, drained
75ml white rum (optional, for a boozy kick)
30g shredded desiccated coconut
1teaspoon vanilla extract
1tablespoon freshly grated lime zest
Instructions
1
Let’s make this deliciousness step by step!
Step 1: Prepare the Ingredients
2
Start by gathering all your ingredients. Make sure to drain the canned pineapple well. Set aside a few chunks for garnish later, if you like.
Step 2: Mix the Cream Base
3
In a large mixing bowl, combine the full-fat coconut cream, heavy double cream, and sweetened condensed milk. Use a whisk or electric mixer and blend until smooth. The mixture should be rich and creamy. Take a moment to really enjoy that coconut aroma.
Step 3: Add the Flavorings
4
Once your cream base is smooth, it's time to add flavor! Slowly mix in the pineapple juice, white rum (if using), shredded coconut, vanilla extract, and lime zest. Make sure everything is well combined. The sweetness of the condensed milk meets the tang of lime perfectly. Trust me; you’re going to want to taste this!
Step 4: Incorporate Fresh Pineapple
5
Gently fold in the canned pineapple chunks. This adds texture and bursts of real fruit flavors. Be careful not to overmix; you want those chunks to remain intact. This step is crucial for that authentic piña colada vibe!
Step 5: Freeze the Mixture
6
Pour the mixture into an airtight container. Seal it tightly, and pop it into the freezer. Let it freeze for about 4-6 hours, or until it becomes firm enough to scoop.
Step 6: Scoop and Serve
7
Once your ice cream is set, take it out. Let it sit at room temperature for a few minutes. This makes it easier to scoop. Serve it in bowls or cones, or get adventurous and create a sundae!
Nutrition Facts
Servings 10
Amount Per Serving
Calories300kcal
% Daily Value *
Total Fat20g31%
Total Carbohydrate30g10%
Protein2g4%
* Percent Daily Values are based on a 2,000 calorie diet. Your daily value may be higher or lower depending on your calorie needs.
Note
Here are five insider tips to boost your piña colada ice cream making skills:
Opt for Full-Fat Coconut Milk: It’s essential for that luscious texture. Low-fat options won’t yield the same creaminess.
Don’t Skimp on Lime Zest: A little zest goes a long way in brightening up the flavors. This is key to achieving a balanced taste.
Taste as You Go: Adjust the sweetness and flavors to your liking. You control how coconutty or fruity it is!
Nix Ice Crystals: To avoid icy chunks, stir your ice cream every 30 minutes in the first few hours. This helps incorporate air and improves texture.
Let It Sit Before Serving: Giving the ice cream a few minutes will make it more scoopable, ensuring everyone enjoys perfectly rounded portions.
Keywords:
Pina Colada Ice Cream
Lauren Miller
Registered Dietitian & Food Enthusiasts
Lauren Miller is a Maryland-based registered dietitian and the creator of Comfort Food Meals, where she shares easy, nutritious, and heartwarming recipes inspired by her love for comforting, home-cooked meals. With a focus on using wholesome ingredients, Lauren aims to balance indulgence with nutrition in every dish. Her goal is to help others create meals that nourish both body and soul.