Ingredients
Method
Step 1: Prepare Your Workspace and Preheat
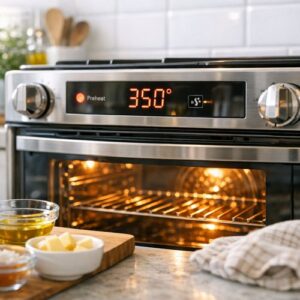
- Set your oven to 350°F and let it come to full temperature before you put anything inside. This takes about 15 minutes and matters more than most home cooks realize. An oven that hasn't fully preheated creates hot spots and uneven cooking. While the oven heats, pull your ham from the refrigerator and let it sit on the counter for 20 minutes. I know the package says it's ready to go, but cold meat doesn't heat as evenly as meat closer to room temperature. This small step prevents the edges from overcooking while the center stays lukewarm. Line a roasting pan or 9x13 baking dish with foil for easier cleanup, then place the ham cut-side down in the pan. The flat, cut surface should rest against the pan bottom. This prevents the ham from rolling and allows better contact with the pan's heat.
Step 2: Make and Prepare Your Glaze
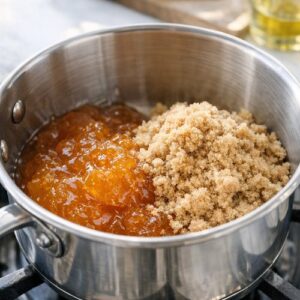
- While the ham sits, prepare the glaze so it's ready the moment you need it. Pour 1 cup apricot preserves into a small saucepan. Add ½ cup brown sugar, 1 tablespoon Dijon mustard, ⅛ teaspoon ground cinnamon, and ⅛ teaspoon ground cloves. Whisk everything together until no sugar lumps remain and the mixture is smooth. Set the saucepan over medium-high heat and stir occasionally. Bring the glaze to a boil—this activates the pectin in the preserves and helps the mixture set when it hits the warm ham. You'll see it bubble and thicken slightly. Once it reaches a rolling boil, remove it from the heat immediately and set it aside. It will thicken more as it cools. The reason for boiling: cold or room-temperature glaze applied to ham will slide off during the bake. The heat thickens it just enough to cling and begin caramelizing.
Step 3: Apply the First Glaze Coat
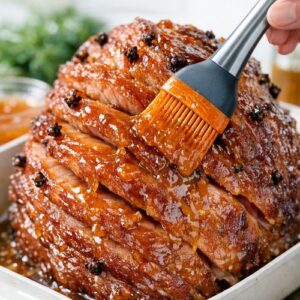
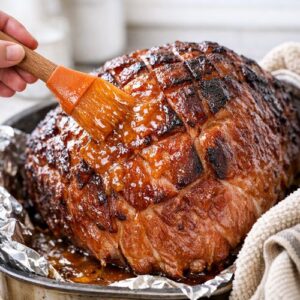
- Using a pastry brush or silicone brush, apply half of your warm glaze to the ham's surface. Don't be shy here—work it into the spaces between the spiral slices. The glaze needs contact with the meat itself, not just the exterior surface. This is where much of the flavor infuses. Brush methodically, making sure every section gets coated. You're applying half your glaze now because the extended bake would cause a single thick application to burn or dry out. Two applications—one now, one at the end—give you better results and more control.
Step 4: Cover and Bake Low and Slow
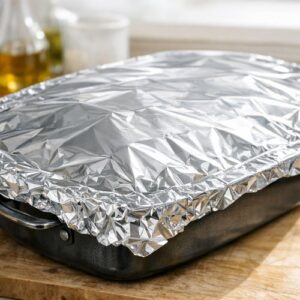
- Tear off a large piece of aluminum foil—you need enough to cover the entire pan with overlap. Place it tightly over the roasting pan. This is the barrier that keeps moisture in and prevents the surface from drying out. Press the foil gently against the edges so steam can't escape around the sides. Place the covered ham in your preheated 350°F oven. Set a timer for 90 minutes. Don't open the oven door during this time. Every time you open it, you release steam and extend cooking time. Trust the process. Why 90 minutes? A 10-pound ham heats through completely in about 9-10 minutes per pound at 350°F, but you're going longer to allow the glaze flavors to penetrate and the meat to reach an even temperature throughout. The package instructions usually say 12-15 minutes per pound, so 90 minutes for a 10-pounder falls right in that range.
Step 5: Apply the Second Glaze and Brown
- When the timer goes off, carefully remove the ham from the oven. The foil and pan will be hot—use thick kitchen towels and move slowly to avoid steam burns. Peel back the foil gently, pulling it toward you so the steam vents away from your face and hands. Brush the remaining glaze over the top and sides of the ham. This is your finish coat, the one that will set and caramelize. Don't worry about the glaze that has already cooked into the ham—you're adding a fresh layer on top. Increase the oven temperature to 425°F. Return the ham to the oven uncovered. Bake for exactly 10 minutes. Watch it during these final minutes—you want the glaze to turn golden brown and glossy, not dark brown or black. If it's browning too fast, you can cover loosely with foil for the last 2-3 minutes, but most ovens will give you perfect results with no cover.
Step 6: Rest and Serve
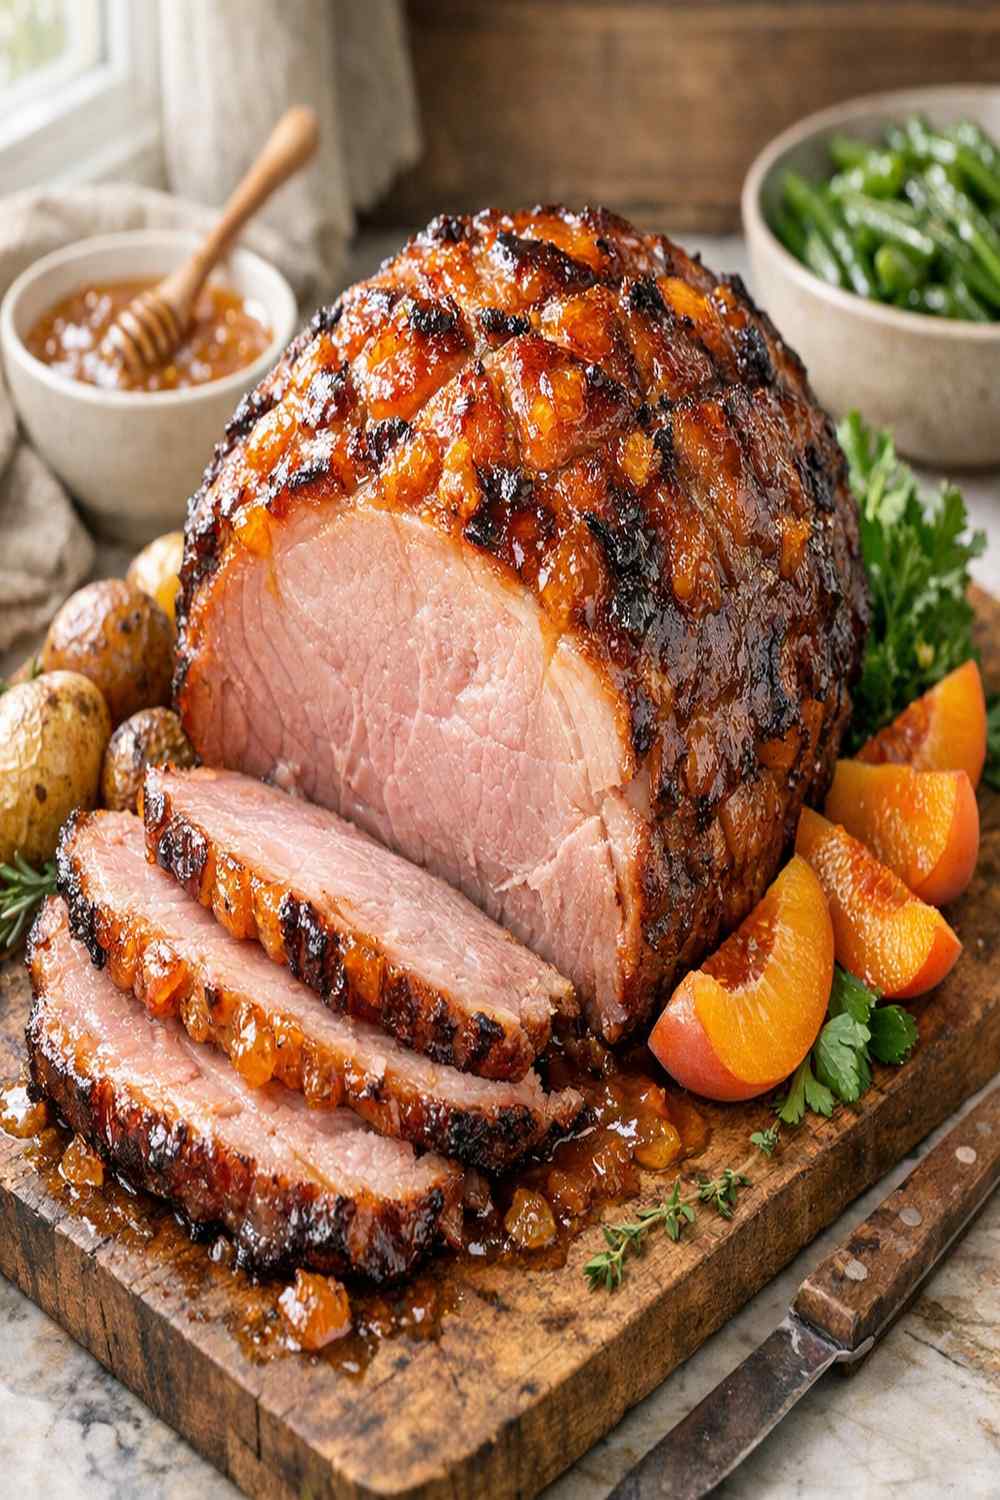
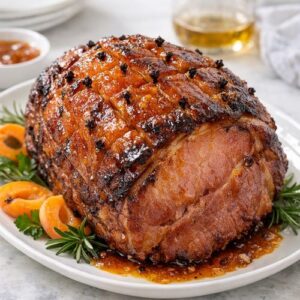
- Remove the ham from the oven and transfer it to a serving platter. Let it rest for 15 minutes before slicing or serving. This isn't just tradition—resting allows the meat's internal temperature to equalize and helps it retain moisture when you cut into it. After 15 minutes, slice and serve. If you saved a small amount of glaze, warm it gently and drizzle it over individual servings. The ham is fully cooked and safe to eat immediately, but that resting period genuinely improves the texture and makes slicing easier.
Notes
- Skipping the boil step for the glaze. If you heat the glaze gently or serve it cold, it won't set properly and will slide right off the ham during baking. You need that rolling boil to activate the pectin and thicken it enough to cling. Always bring it to a boil and let it cool slightly before applying.
- Removing the foil too early. Some recipes suggest removing foil after 60 minutes to let the exterior brown. Resist this. Uncovering the ham before 90 minutes allows critical surface moisture to evaporate, and you'll end up with a dry exterior. The high-heat finish at the end handles browning just fine—trust the two-stage method.
- Using glaze that's too thick or too thin. If your glaze seems too thin when you finish boiling it, you may have used jam instead of preserves, or your heat was too low and it didn't reach a rolling boil. Bring it back to a boil for another minute. If it's too thick and doesn't brush smoothly, stir in 1 tablespoon water at a time until it reaches a pourable consistency.