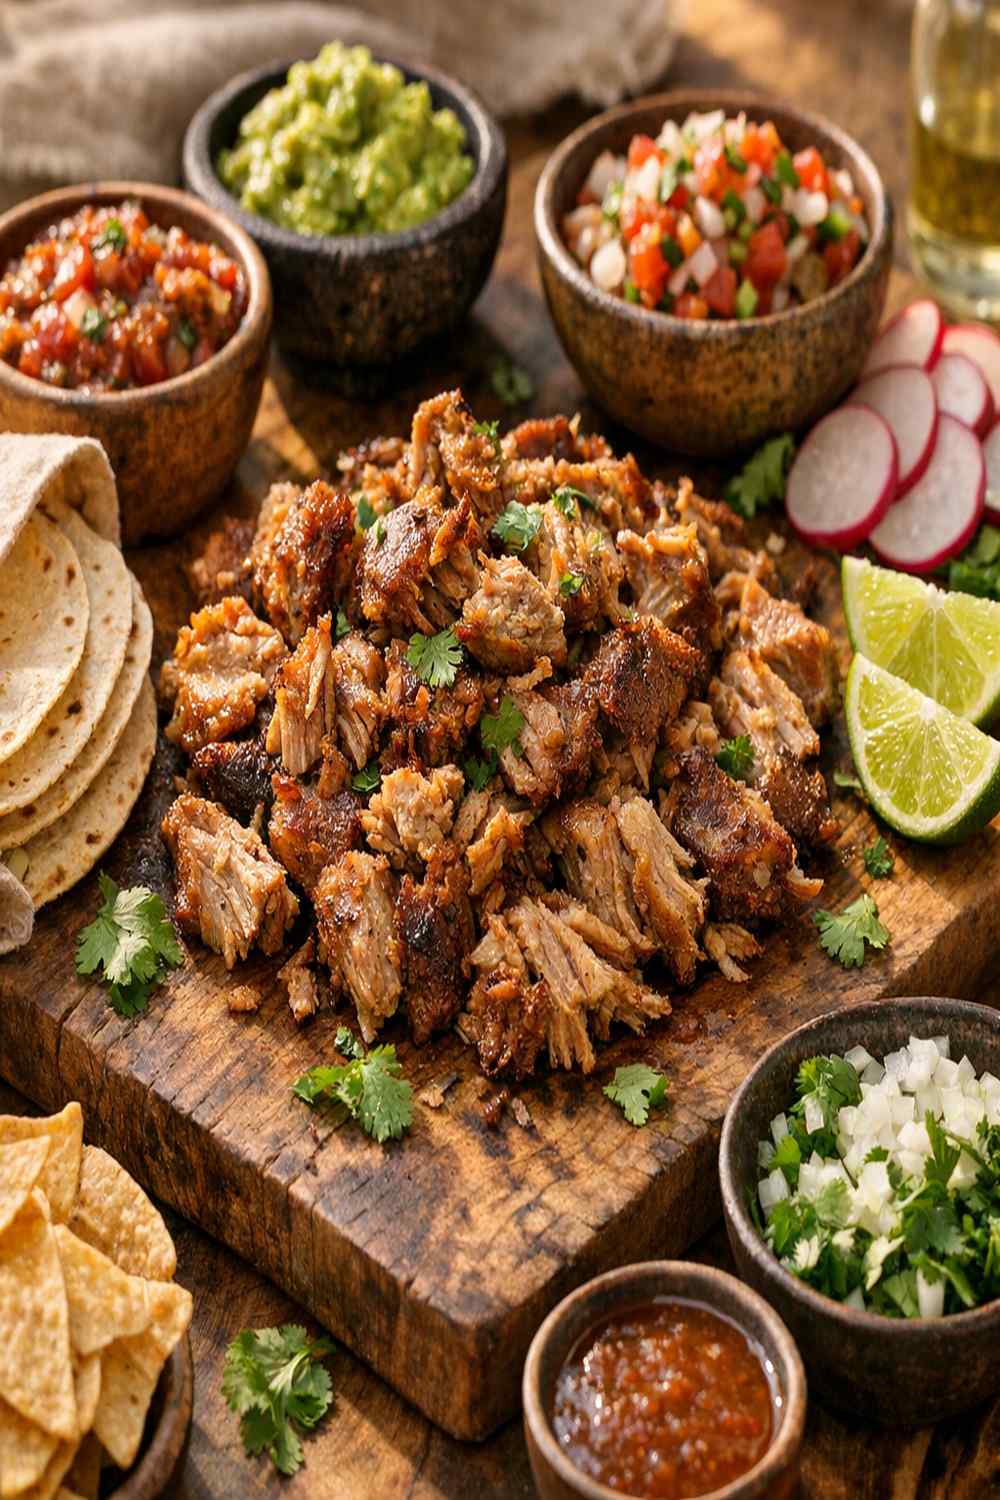

Ingredients
Method
Step 1: Prepare and Season Your Pork Shoulder
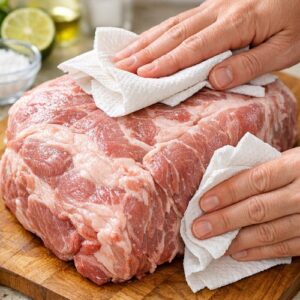
- Begin by rinsing your pork shoulder under cool water and patting it completely dry with paper towels. Moisture on the surface prevents proper seasoning absorption. Rub the salt and black pepper all over the meat—don't be shy. The salt penetrates the outer layer through osmosis, drawing moisture out initially, then re-distributing seasoning throughout the meat. This dry-brining effect takes about 15 minutes. You'll notice the surface becomes slightly wet as osmotic pressure draws salt inward and moisture outward. This is exactly what you want.
Step 2: Create Your Flavor Base
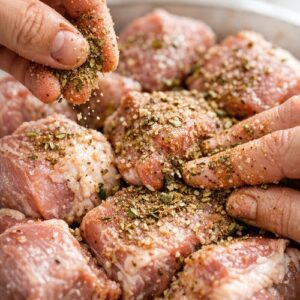
- In a small bowl, combine the dried oregano, ground cumin, and an extra pinch of salt. Rub this mixture all over the seasoned pork, getting it into any crevices. The dried herbs and spices will hydrate as the slow cooker heats, releasing their essential oils. The cumin, being fat-soluble, will distribute through the pork's fat content, creating depth that permeates every bite. This two-stage seasoning approach (salt first, then spice blend) prevents the spices from drawing out excess moisture too quickly.
Step 3: Layer Your Aromatics in the Slow Cooker
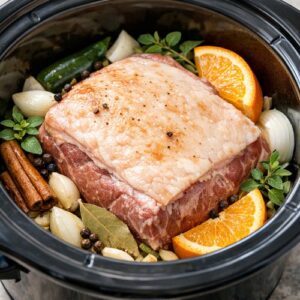
- Place your pork shoulder in the slow cooker with the fat cap facing upward. This positioning is crucial—the fat melts downward and bathes the meat in rendered fat and cooking liquid, preventing the top from drying out. Scatter the roughly chopped onion, jalapeño, and minced garlic around the pork. Don't worry about distributing them evenly or covering the meat. After 10 hours on low heat, these aromatics will break down completely, their cell walls dissolving into the liquid and infusing it with subtle sweetness (from the onion's natural sugars) and complexity.
Step 4: Add Your Liquid and Set the Temperature
- Squeeze the orange juice over everything—about ¾ cup total. The citric acid (typically 3-4% of fresh orange juice) begins breaking down the collagen immediately, but the real work happens over hours. Cover your slow cooker and set it to low heat. Low heat (around 190°F) is critical because it allows collagen conversion without toughening the muscle fibers. If you use high heat (around 280°F), you'll finish in 7 hours, but the interior won't reach the same tender consistency. I recommend low for 10 hours whenever possible—the extra time creates a more uniform texture and deeper flavor development.
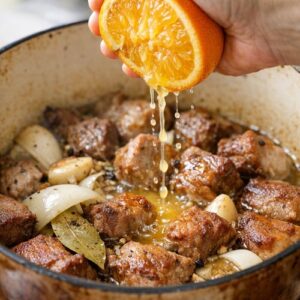
Step 5: Monitor and Test for Doneness
- Around hour 8, insert a fork into the thickest part of the meat. It should meet minimal resistance. By hour 10, the pork should shred almost effortlessly. The internal temperature will read around 190–195°F on a meat thermometer, which is the ideal range for collagen-to-gelatin conversion. If it's still firm, give it another hour. Every slow cooker varies slightly in temperature distribution.
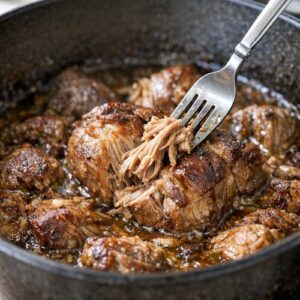
Step 6: Shred and Manage the Liquid
- Remove the pork to a cutting board and let it rest for about 10 minutes—this allows the muscle fibers to relax slightly, making shredding easier. Using two forks, pull the meat apart into bite-sized pieces. The meat should shred with minimal effort. If it's still resistant, it needs more time in the slow cooker; return it for another 30 minutes. Pour the cooking liquid through a fine-mesh strainer into a measuring cup, discarding the onion, jalapeño, and garlic solids (they've given everything they have). You'll likely have 2–3 cups of liquid. This liquid is pure gold—it contains rendered fat, dissolved collagen, and all the seasoning. It becomes your sauce. If you have significantly more than 2 cups, pour it into a saucepan and simmer over medium heat for 10–15 minutes to reduce it. The liquid should taste quite salty—this is intentional. It seasons the shredded pork as it absorbs the liquid.
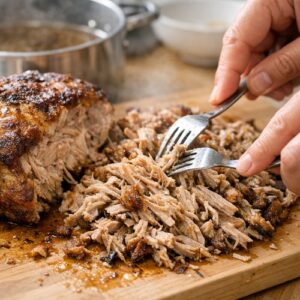
Step 7: Combine and Rest
- Return your shredded pork to the slow cooker and pour the cooking liquid over it. Stir gently to distribute. Let this sit for at least 15 minutes, allowing the pork to absorb the seasoned liquid. The warm liquid will be absorbed into the meat, making it even more flavorful and succulent. This resting period is when carnitas truly becomes itself.
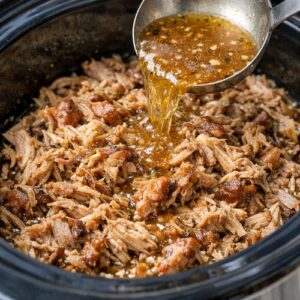
Notes
- Don't skip the resting period after shredding – the 15-minute rest allows muscle fibers to relax and reabsorb moisture, preventing a dry final product. This is a fundamental principle in meat cookery that applies across cuisines.
- Reserve the cooking liquid even if you think you have too much – freeze it in ice cube trays for up to 3 months. Each cube is liquid gold for soups, beans, or rice. The gelatin and collagen make an exceptional base for any broth.
- Toast your spices in a dry pan before adding if you want deeper flavor – dry-toasting cumin and oregano for 30 seconds releases additional volatile oils. This is optional but creates noticeably more complex flavor in your final dish.
- If your pork is still tough after 10 hours on low, your slow cooker may be running cool – slow cookers vary significantly. Place an oven-safe thermometer in the slow cooker on the low setting and check the actual temperature. If it's below 180°F, you may need an extra 2-3 hours, or consider using a meat thermometer to confirm internal temperature.
- Brown the seasoned pork in olive oil before slow cooking for deeper flavor – the Maillard reaction creates hundreds of new flavor compounds. Heat 1 tablespoon olive oil in a large skillet over medium-high heat and sear the pork on all sides for 2–3 minutes per side until golden brown. This adds about 15 minutes to your prep time but creates noticeably more complex flavor.