
Ingredients
Method
Step 1: Season Your Pork Properly
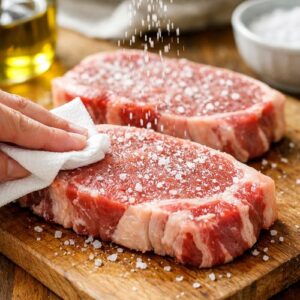
- Pat your pork chops dry with paper towels. This is critical. Moisture is the enemy of a good crust. Sprinkle both sides generously with kosher salt and freshly ground black pepper. Don't use table salt here—the crystals are smaller and you'll over-salt. I use about ¼ teaspoon of kosher salt per chop, and pepper to your taste. Let the chops sit at room temperature for 5 to 10 minutes while you prepare your other ingredients. This allows the seasoning to penetrate and helps the meat cook more evenly. Room temperature meat cooks more consistently than cold meat straight from the refrigerator. The interior reaches the target temperature at the same pace as the exterior, which means you're less likely to end up with a cold center or an overcooked edge.
Step 2: Sear the Pork to Build a Golden Crust
- Heat 1 tablespoon of olive oil in a large skillet over medium-high heat until the oil shimmers and moves easily around the pan. This should take about 2 minutes. You want the oil hot enough that it sizzles audibly when the pork hits the pan, but not so hot that it smokes. Place your pork chops in the skillet and don't touch them. This is hard, I know. But moving them around prevents a proper crust from forming. Cook the first side for exactly 4 minutes until you see a deep golden-brown color. Then flip and cook the second side for 3 minutes. The first side gets longer because it's touching cold metal. The second side needs less time since the skillet is already hot. The meat doesn't need to be cooked through at this point. You're aiming for an internal temperature of about 140°F, which is medium. It will continue cooking when we add it back to the glaze.

Step 3: Rest the Pork While You Build the Sauce
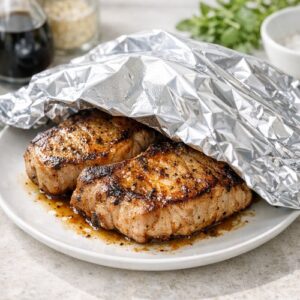
- Transfer your seared pork chops to a clean plate and cover loosely with foil. This keeps them warm while trapping some steam, which helps with carryover cooking without drying them out. Don't cover them tightly—you want some air circulation so condensation doesn't make the crust soggy. The resting period gives the meat fibers a chance to relax and reabsorb their juices. If you skip this step and go straight to the glaze, the meat will be tougher and those beautiful juices will end up in your sauce instead of in every bite.
Step 4: Cook Your Aromatics
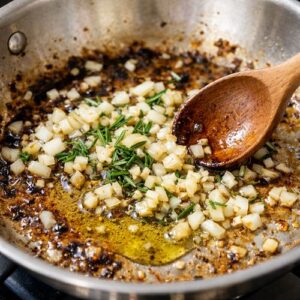
- Don't rinse the skillet. All those browned bits stuck to the bottom are liquid gold—that's flavor. Add 1 tablespoon of olive oil to the same skillet, still over medium-high heat. Add your minced garlic and sliced onion, stirring occasionally. Cook until the onion is translucent and starting to soften, about 3 minutes. You're not trying to caramelize the onion deeply here. You want it tender but still holding some structure so it adds texture to the final dish. The garlic should smell aromatic but not browned—browned garlic tastes bitter.
Step 5: Create the Balsamic Glaze
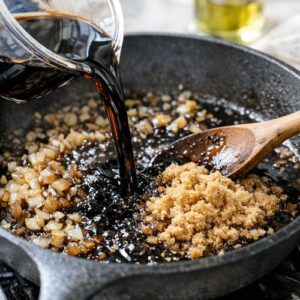
- Pour your 1 cup of balsamic vinegar into the skillet with the onions and garlic. Immediately add ⅓ cup of brown sugar. Stir constantly for about 1 minute until the sugar dissolves completely. You should see the mixture go from gritty to smooth. Increase the heat slightly if needed until the mixture comes to a gentle simmer. You'll see small bubbles breaking the surface consistently. Reduce the heat to medium so it's simmering gently, not aggressively boiling. This is important because aggressive boiling burns the vinegar and makes it taste harsh instead of balanced. Let this simmer for 5 to 8 minutes, watching it carefully. It will go from thin and watery to noticeably thicker. You're reducing it by almost half—that's when you know it's ready. The color will darken to a deep brown-black, and when you tilt the pan, the sauce should coat the sides and slide down slowly instead of running freely.
Step 6: Finish the Pork in the Glaze
- Add your seared pork chops back into the skillet along with any juices that collected on the plate. Gently turn the pork a few times to coat it with the glaze. Simmer for exactly 2 minutes, just long enough for the meat to reheat and the sauce to become syrupy and cling to every surface. Be careful not to overcook during this final step. The pork is already mostly cooked, and the carryover heat will finish it. Overcooked pork—even by a few minutes—becomes tough and dry.

Step 7: Plate and Garnish
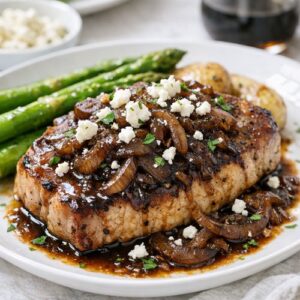
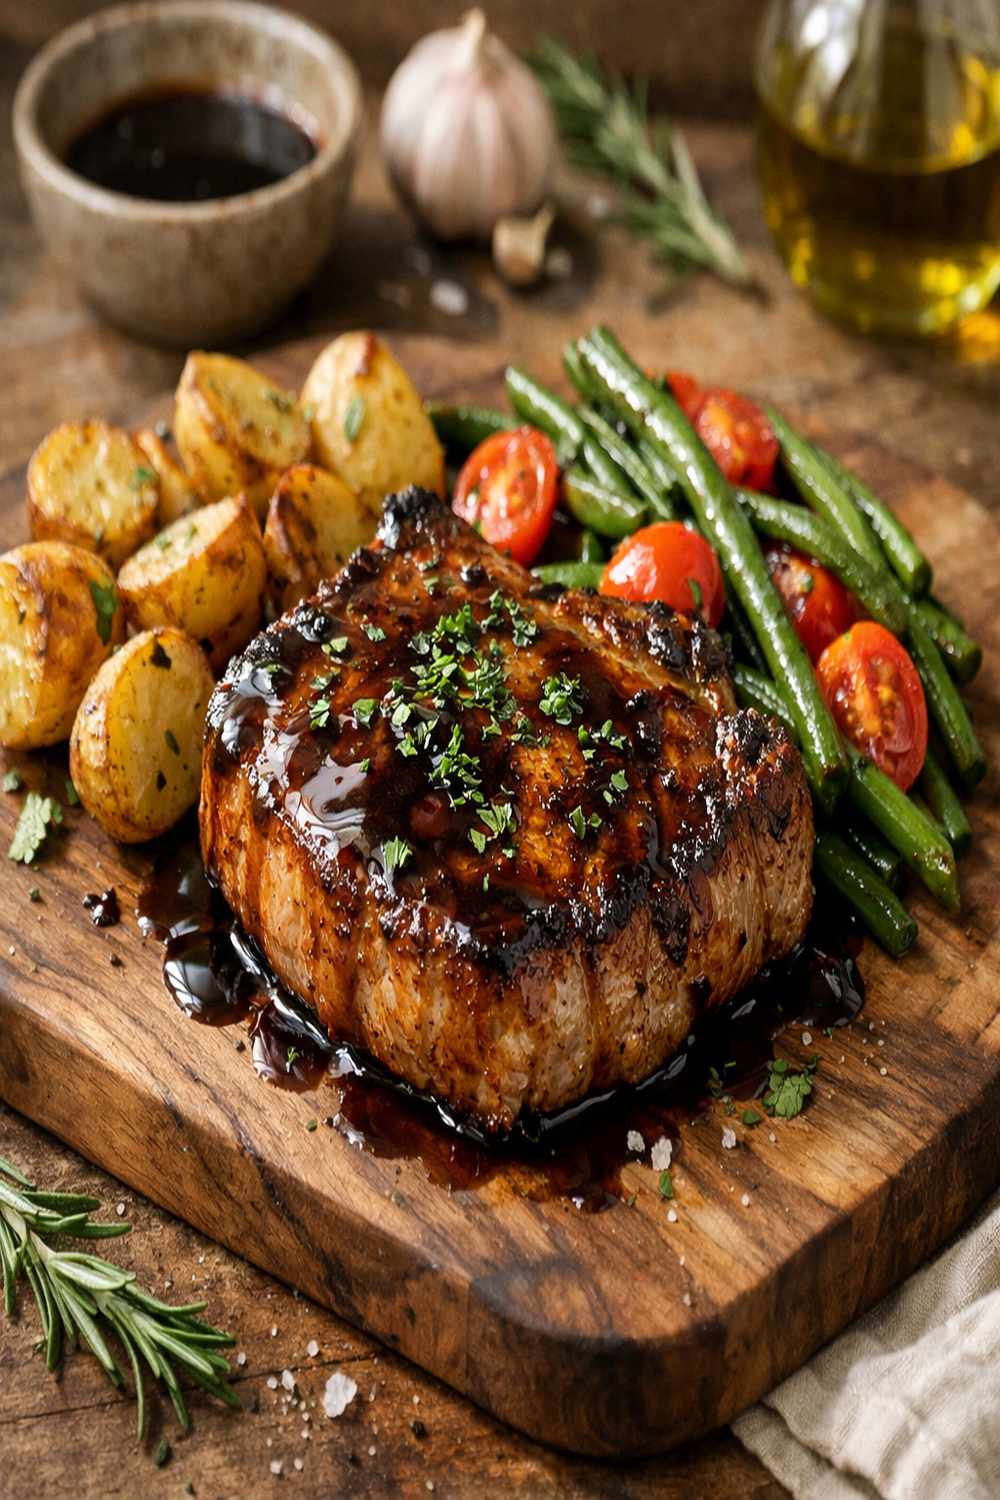
- Transfer your pork chops to serving plates and spoon the onions and sauce generously over the top. If you're using goat cheese or feta, crumble it over each chop while the glaze is still warm so it softens slightly. Finish with fresh chopped parsley or thyme. The herbs add brightness and visual appeal that makes this feel like restaurant food.