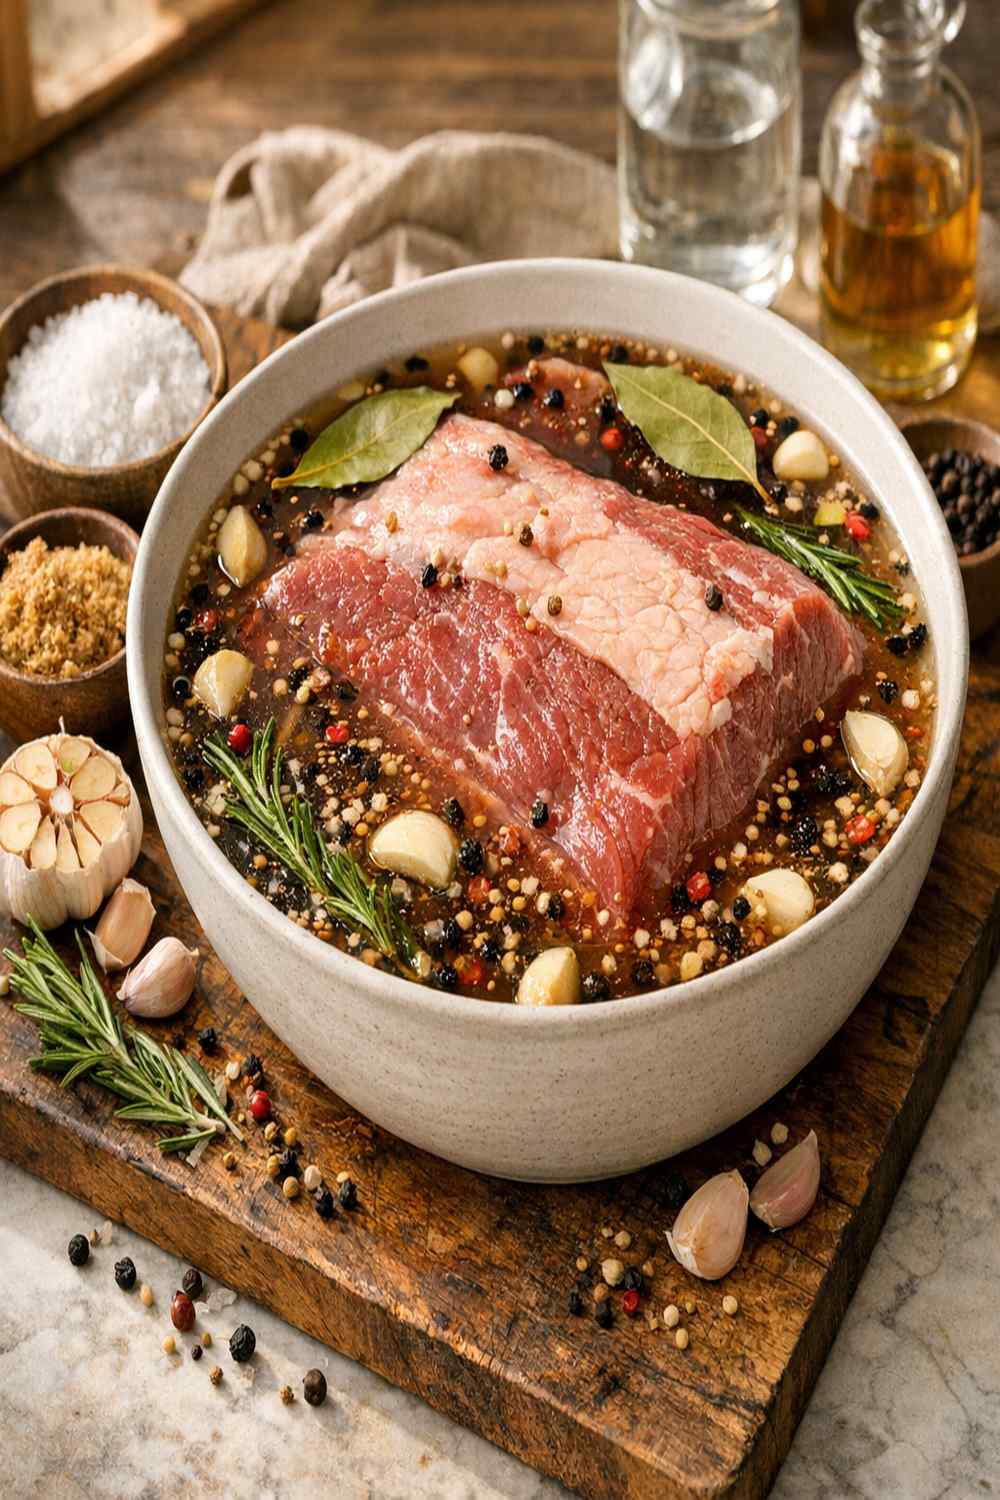

Ingredients
Method
Step 1: Create Your Base Brine Solution
- Bring your six quarts of filtered water to a rolling boil in a large pot. You need the water truly hot so the salt crystals dissolve completely—this is critical for even flavor distribution. Add your half cup of kosher salt and one cup of light brown sugar to the boiling water, stirring constantly until both ingredients disappear into the liquid completely. This should take about two to three minutes. You'll know you're finished when the water looks clear and tastes distinctly salty-sweet. Now add the two tablespoons of whole peppercorns—they'll bloom and release their oils into the hot liquid, creating aromatics that infuse the meat overnight.
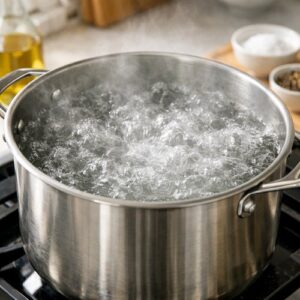
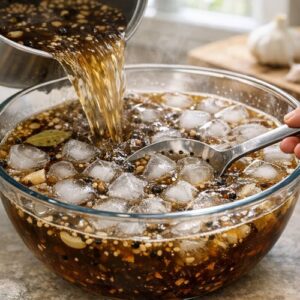
Step 2: Cool the Brine Rapidly
- Pour the entire pot of hot brine into a very large bowl or container. Add all six cups of ice immediately. Stir frequently so the ice cools the brine evenly rather than creating pockets of cold and warm liquid. The ice melts as it cools—this is exactly what you want. The brine needs to reach room temperature before the brisket goes in; if the meat hits hot brine, it'll begin cooking on the surface and won't absorb the salt evenly. This step takes about fifteen to twenty minutes. Test the temperature with your finger—it should feel cool, not cold, when you're ready for the next step.
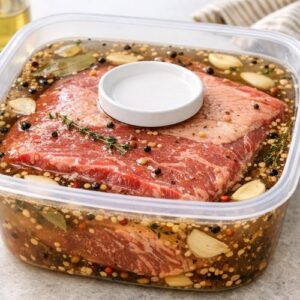
Step 3: Submerge and Refrigerate Overnight
- Place your five- to seven-pound flat cut brisket into the cooled brine. The meat should be completely submerged—if it tries to float, place a small plate on top to keep it under the liquid. This is when the magic begins. Cover the container loosely (a towel works fine), transfer it to your refrigerator, and walk away. Twelve to sixteen hours is the ideal range. Most people brine overnight and cook the next day, which is exactly what I recommend. The salt solution penetrates the muscle fibers, breaking down proteins and allowing them to retain moisture during the long smoke ahead.
Step 4: Remove, Dry, and Season the Meat
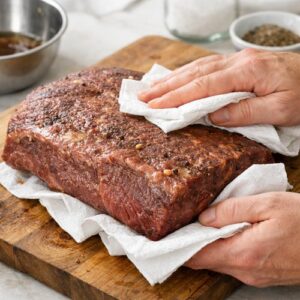
- The next morning, remove the brisket from the brine and discard the liquid—you won't need it again. Pat the brisket completely dry with paper towels. I can't stress this enough: wetness prevents proper bark formation. Spend two full minutes drying the entire surface, getting into any crevices or folds. Now sprinkle your quarter cup of beef rub evenly across all surfaces of the meat. I like to rub it gently into the meat with my fingers rather than just sprinkling, which helps the spices adhere and creates a more cohesive crust once the smoke hits.
Step 5: Fire Up Your Smoker and Begin the First Cook Phase
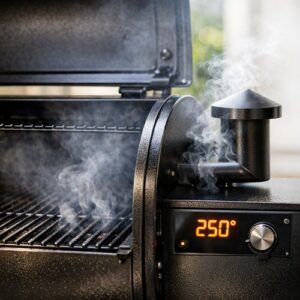
- Set your smoker to 250 degrees Fahrenheit and preheat with the lid closed for fifteen minutes. This ensures even heat and allows any residual moisture inside the chamber to evaporate. While the smoker preheats, insert your meat thermometer probe into the thickest part of the brisket—you'll be monitoring internal temperature continuously from now on. Place the brisket directly on the grill grates, fat-side down. Fat-side down allows the rendered fat to baste the meat as it drips. Close the lid and smoke for three hours without opening it. Resist the urge to peek—every time you lift the lid, you lose heat and extend the cook time.
Step 6: Wrap and Transition to Phase Two
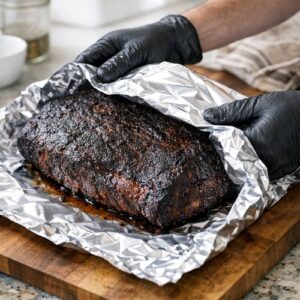
- After three hours, carefully remove the brisket from the smoker. It'll be dark and smoky on the surface—that's exactly right. Wrapping at this stage is called the Texas Crutch, and restaurants use it because it speeds cooking and locks in moisture. Tear off a double layer of heavy-duty aluminum foil and wrap the brisket tightly, tucking the foil under the meat so it's sealed completely. Increase your smoker temperature to 275 degrees Fahrenheit. The higher heat moves you through the stall—that stubborn plateau around 150 degrees where the brisket seems to stop cooking as evaporative cooling battles your heat.
Step 7: Low-and-Slow Until Tenderness
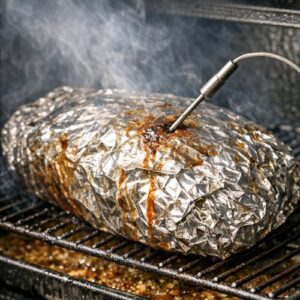
- Return the wrapped brisket to the 275-degree smoker and re-insert your probe. From this point, you're watching internal temperature, not time. Cook until the thickest part of the meat reaches 204 degrees Fahrenheit internally. This usually takes three to four hours, but I've seen it take as little as two hours fifty minutes or as long as five hours—variables like exact meat thickness, smoker calibration, and ambient temperature all matter. Don't rush this stage by pushing the temperature higher. Lower heat gives connective tissue (collagen) time to break down into gelatin, creating that melt-in-your-mouth texture.
Step 8: Unwrap and Develop Final Bark
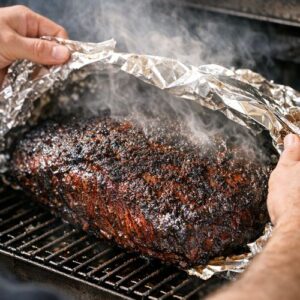
- Once you hit 204 degrees, carefully unwrap the foil—watch out for the steam burst. Return the unwrapped brisket to the 275-degree smoker, close the lid, and cook for exactly thirty minutes more. This allows the surface to dry slightly and the bark to firm up. You're looking for a dark mahogany color with a slight flexibility when you press it.
Step 9: Rest, Slice, and Serve
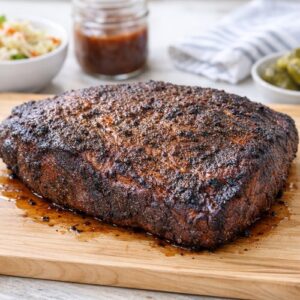
- Remove the brisket from the smoker and place it on a clean cutting board. Let it rest for fifteen minutes without touching it. This is when carryover cooking finishes (internal temperature rises another two to three degrees) and muscle fibers relax, redistributing juices throughout the meat instead of letting them run out the moment you cut. After resting, slice against the grain—that means perpendicular to the muscle fibers—using a sharp knife. Thin slices (about a quarter-inch thick) showcase the tender interior and create the most satisfying eating experience.
Notes
- Skipping the drying step after brining — Wet meat won't develop proper bark. After you remove the brisket from the brine, dry it thoroughly with paper towels. Moisture is the enemy of crust formation, and you want that mahogany bark.
- Cooking at too high a temperature — I know it's tempting to speed things up by raising your smoker to 300 or 325 degrees. Don't. Connective tissue needs time below 250 degrees to break down properly. Higher heat toughens the exterior before the interior becomes tender.
- Not accounting for temperature variables — Ambient temperature, smoker calibration, and wind all affect cook time. Stop checking the clock at three or four hours and start checking the thermometer. Cook to internal temperature, not time.
- Skipping the rest period — That fifteen-minute rest after smoking isn't optional. Without it, you'll lose all your hard-earned moisture the moment you slice. Wrap the finished brisket in foil to keep it warm while resting.