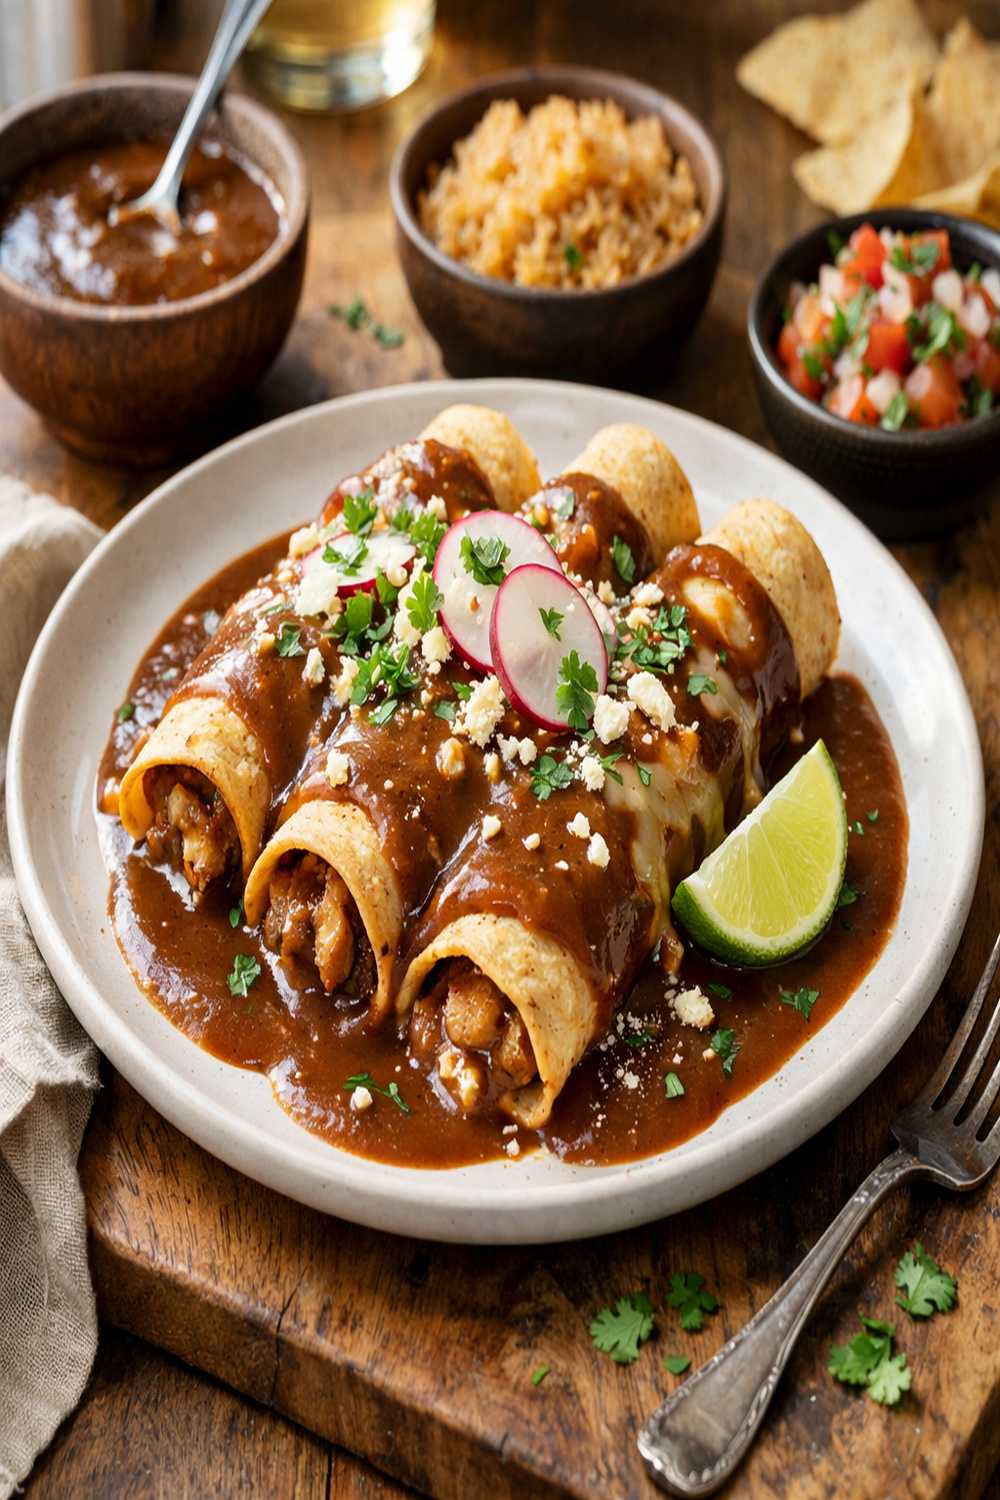

Ingredients
Method
Step 1: Heat Your Fat and Begin Building Your Roux
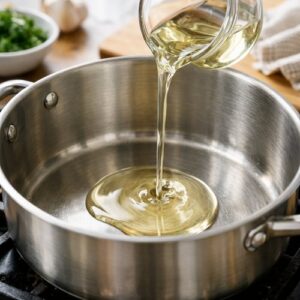
- Pour ¼ cup of lard or vegetable oil into a heavy-bottomed pot (cast iron or stainless steel works beautifully). Set your heat to medium-high. You want the oil hot but not smoking—if it starts to shimmer and move easily when you tilt the pot, you're at the right temperature. This is your first sensory checkpoint: the oil should be hot enough that when you add flour, it immediately begins to sizzle and smell toasted, not like raw flour. If it doesn't sizzle, wait another 30 seconds. Don't skip this step—a cold roux will never develop the deep, nutty flavor you're after. Now add your ¼ cup of flour all at once. Immediately grab a whisk and begin stirring constantly. This is critical. You're preventing lumps from forming and ensuring even cooking. The flour will combine with the hot oil almost instantly, creating a paste-like mixture at the bottom of your pot.
Step 2: Toast Your Roux to Perfect Brown
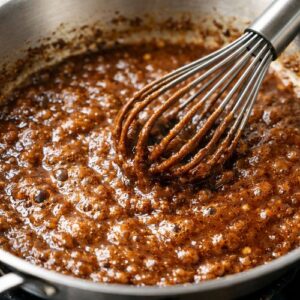
- Keep whisking. This is where patience becomes your greatest skill. You're going to cook this flour and fat mixture for 1 to 2 minutes, watching carefully as it transforms color. It will start pale tan, then gradually deepen to golden, then light brown. This is the moment that separates good enchilada gravy from exceptional enchilada gravy. Watch the color like a hawk. You're looking for a milk chocolate brown—not black, not pale, but that gorgeous deep brown that smells toasty and almost nutty. Your nose is actually a better guide than your eyes here. When it smells deeply toasted (like you've just opened a bag of cocoa powder), you're close. When it smells like that toasted aroma plus something faintly caramelized, you're there. The whole pot will smell incredible at this point. Don't skip ahead because of impatience. That extra 30 seconds of cooking is what makes the difference between gravy and exceptional gravy. I've made this hundreds of times, and the magic is always in that toasting moment.
Step 3: Bloom Your Spices
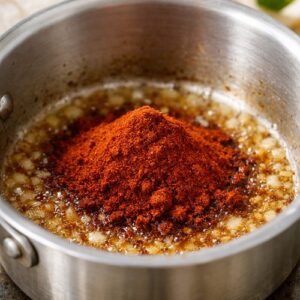
- Remove your pot from the heat for just 10 seconds—you want the temperature to drop slightly so your spices don't scorch. Add your 2 tablespoons chili powder, 1 teaspoon cumin, 1 teaspoon garlic powder, ½ teaspoon oregano, ½ teaspoon salt, and ½ teaspoon black pepper all at once. Whisk everything together immediately. You'll notice the spices combine with the roux, and suddenly the mixture looks darker and more fragrant. That's the bloom happening—the heat is releasing the essential oils in the spices, intensifying their flavor. Work quickly here, whisking for about 15 seconds, and then immediately move to the next step. Add your 1 tablespoon tomato paste and whisk until it's completely incorporated. The mixture will look almost black at this point, and the aroma will be deeply savory.
Step 4: Slowly Add Your Liquid
- This is the most critical technique moment of the entire recipe. Place your pot back on medium heat. Pour your 2 cups of broth (beef, chicken, or water—your choice) into a separate container so you can control the pour. Now, here's the professional secret: add your liquid slowly while whisking constantly. I start by adding about ¼ cup of broth and whisking it into the roux until it's completely smooth. This creates a thin paste. Then I add another ¼ cup and whisk. Then another. I'm building up gradually, letting each addition fully incorporate before adding more. This technique prevents lumps because you're giving the starch granules time to absorb the liquid evenly. If you dump all the liquid in at once, you'll get clumps of unhydrated flour that create lumps in your finished gravy. Slow and steady is how you win this race. Once you've added about half your liquid and the mixture looks like thick cream, you can add the rest a bit faster. Keep whisking constantly as you go. You should feel the whisk moving more freely as the gravy thins out.
Step 5: Thicken and Taste
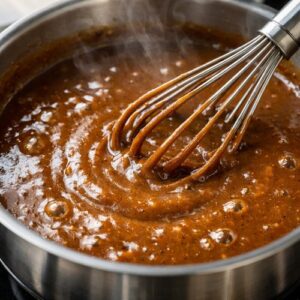
- Increase your heat slightly to medium and keep whisking as your gravy heats through. You'll notice it thickening as it approaches a simmer. This is where you discover the actual texture—in the heat, not before. The gravy will look thinner when it's cold and thicken as it warms. Within 3 to 5 minutes of constant whisking, your gravy should reach a beautiful simmer with small bubbles breaking the surface. This is perfect—you've cooked out any flour taste, and your spices have fully incorporated. Now taste it. Seriously, taste it right now while it's hot. Does it need more salt? More heat? Taste is personal, and this is where you get to own your recipe. Add a pinch more of whatever it needs. This is your moment to make it yours.
Step 6: Let It Mellow
- Reduce your heat to low and let this gravy simmer quietly for 15 minutes. This time allows flavors to marry and deepen. You're not looking for any action here—just the occasional small bubble. This is passive cooking at its finest, and it's where the flavors really develop. If your gravy gets too thick during this simmering time, whisk in more broth or water, a tablespoon at a time. You want it the consistency of heavy cream—thick enough to coat your spoon but thin enough to pour.
Step 7: Prepare Your Tortillas and Build Your Enchiladas
- While your gravy is simmering, preheat your oven to 450°F. Pour 2 tablespoons of vegetable oil into a large baking dish or cast-iron skillet. Layer your 8 corn tortillas in the dish (it's fine if they overlap) and make sure they're coated with oil on both sides. Place the uncovered baking dish in your preheating oven for 3 to 5 minutes. You're not cooking the tortillas—you're warming them and making them flexible. They'll soften beautifully and become pliable for rolling. Remove the dish and cover the tortillas with a clean kitchen towel so they stay warm and soft. Pour ½ cup of your finished gravy into the bottom of a clean baking dish. This creates a base layer that prevents sticking and adds flavor.
Step 8: Roll and Arrange
- Take one warm tortilla and place it on a clean work surface. Sprinkle ¼ cup of your shredded Colby-Jack cheese down the center, then add 1 tablespoon of diced yellow onion. Don't overstuff—you want room to roll without the filling spilling out. Roll the tortilla tightly, starting from one edge and rolling toward the other. Place it seam-side down in your gravy-lined baking dish. Continue with all remaining tortillas until your dish is full. They should fit snugly but not be crammed.

Step 9: Add Gravy and Cheese, Then Bake
- Pour the remaining gravy evenly over your rolled enchiladas. You want them well-coated but not swimming—the gravy should come about halfway up the sides of the rolls. Sprinkle the remaining cheese over the top, then scatter the remaining diced onion over everything. Bake uncovered at 450°F for exactly 10 minutes. You're looking for the sauce to bubble at the edges (that's your signal that heat has penetrated all the way through) and the cheese to melt and turn golden in spots. Don't overbake, or your tortillas will get crispy at the edges.
Step 10: Serve and Celebrate
- Remove from the oven and let rest for 2 minutes. Serve warm with pickled jalapeños on the side. These bright, spicy jalapeños cut through the richness of the cheese and gravy, balancing the entire plate beautifully.
Notes
- My gravy is lumpy - This happens when you add liquid too fast or don't whisk constantly while adding it. Fix: push your gravy through a fine-mesh strainer to remove lumps, then gently reheat it. For next time, slow down your liquid addition and maintain constant whisking contact with the bottom of your pot.
- My roux tastes burnt and bitter - You cooked it at too-high heat or for too long. Fix: start over (it's only flour and fat, no waste). Lower your heat to medium-high and watch more carefully. You want toasty, not charred.
- My gravy is too thin - You either didn't cook your roux long enough or added too much liquid. Fix: make a small slurry by mixing 1 tablespoon flour with 2 tablespoons cold water, then whisk it slowly into your simmering gravy. This will thicken it beautifully.
- My gravy is too thick - You didn't add enough liquid or cooked it too long. Fix: whisk in more broth or water a tablespoon at a time until you reach the consistency of heavy cream. Don't add too much at once.
- My enchiladas came out dry - You didn't add enough gravy before baking. Fix: check that your enchiladas are well-coated with gravy before they go in the oven. They should be saucy, not dry.