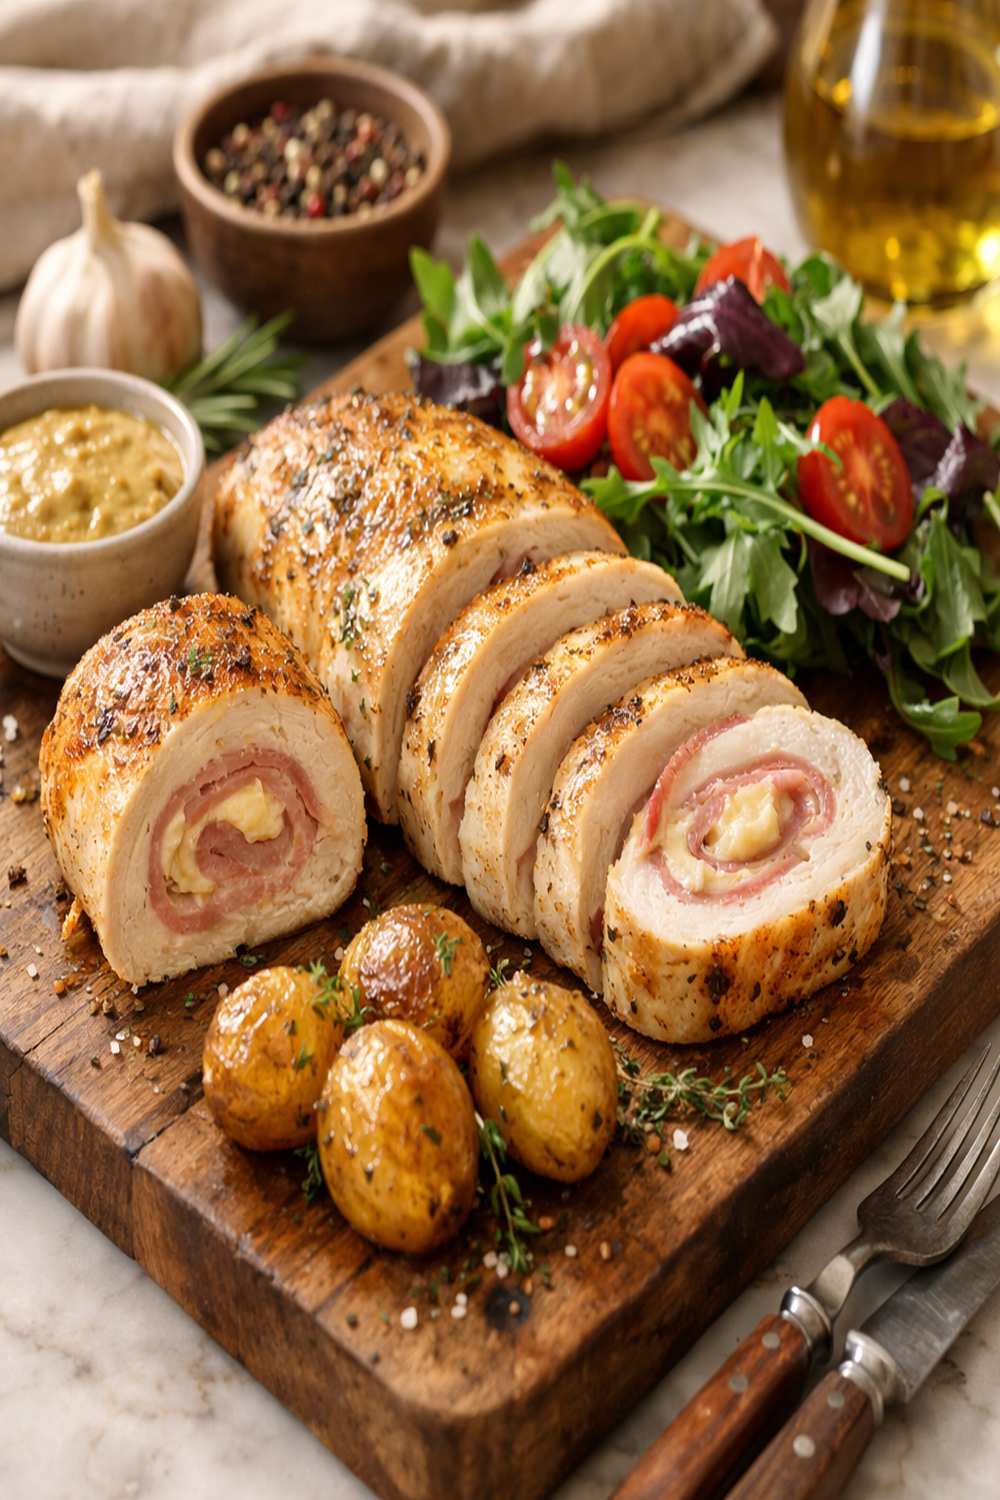

Ingredients
Method
Step 1: Prepare Your Chicken Breasts
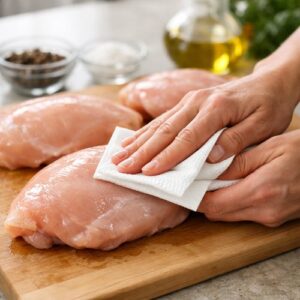
- Start by removing your chicken breasts from the refrigerator and patting them completely dry with paper towels. This step matters more than you might think—excess moisture prevents browning and can make the coating slip off. Once they're dry, place one chicken breast on a cutting board and use a sharp chef's knife to carefully slice it horizontally, creating two thinner pieces that are roughly even in thickness. Repeat with all four breasts until you have eight thinner pieces. If your knife is sharp and you take your time, this becomes surprisingly easy. A dull knife will tear the meat and frustrate you—this is worth taking five minutes to sharpen properly.
Step 2: Pound the Chicken Evenly
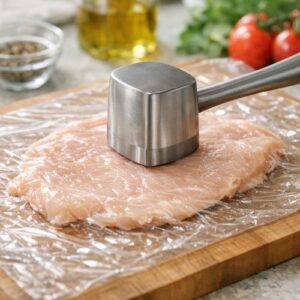
- Place one piece of chicken between two sheets of plastic wrap. Using a meat mallet (the flat side, not the textured side), gently pound the chicken to create an even thickness—about ¼ inch. The goal here isn't to pulverize the meat; it's to create uniform thickness so it cooks evenly. If you see a hole appearing in the meat, you've pounded too hard. A few gentle whacks from the side of the mallet works better than aggressive pounding from above. Repeat with all eight pieces. As you do this, notice how the chicken becomes more tender and easier to work with. This step takes maybe five minutes total, and it's one of the most important things you'll do.
Step 3: Layer and Roll Your Filling
- Now comes the part that feels like a small act of creation. Lay one piece of pounded chicken in front of you on a clean surface. Top it with one slice of ham—let it drape a bit over the edges. Top the ham with about one ounce of cheese (roughly a handful if you're eyeballing it, or an actual ounce if you're being precise). Starting from the short end, roll the chicken tightly toward you, tucking the sides in as you go. You're aiming for something that looks like a tight cigar or cinnamon roll. The ham and cheese should stay mostly inside as you roll. Repeat with all remaining pieces.
Step 4: Wrap and Chill for Structure
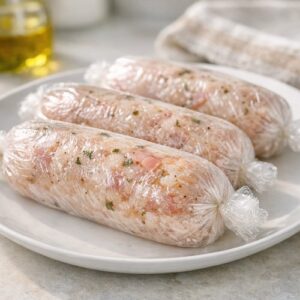
- Here's a step that many recipes skip but that makes a real difference: wrapping each roll tightly in plastic wrap and chilling them. Place each roll on a fresh piece of plastic wrap and wrap it tightly, twisting the ends like a tootsie roll so the plastic holds the shape firmly. Refrigerate for at least 30 minutes, though up to one full day is even better. This chilling period allows the filling to set and the chicken to relax, which prevents the rolls from unraveling in the oven. If you're making these the day before your event, this step becomes your secret weapon for stress-free cooking.
Step 5: Prepare Your Coating Station
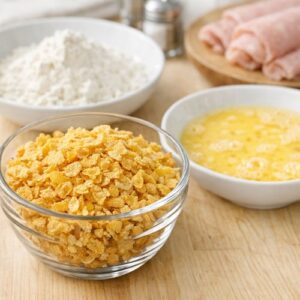
- About 15 minutes before you're ready to bake, preheat your oven to 400°F. While it's heating, set up your assembly line. Measure out your cornflakes cereal and add them to a food processor. Pulse until they're broken into fine crumbs—think breadcrumb texture, not powder. You're looking for tiny, uniform pieces that will create a crispy exterior. Pour the crumbs into a shallow dish or pie plate. In a separate shallow dish, pour your melted (but cooled) butter. Pat your chilled chicken rolls with paper towels to remove any condensation, then season them generously with salt, pepper, and the optional garlic powder and paprika. This is where flavor happens at the surface level.
Step 6: Coat and Arrange
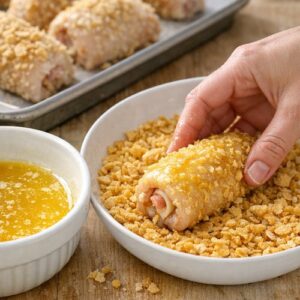
- Working with one roll at a time, dip it into the melted butter until it's evenly coated, then immediately roll it in the cornflake crumbs, pressing gently so the crumbs adhere to the wet surface. Don't be timid with the coating—this is what creates that gorgeous golden exterior and adds textural interest. Transfer each coated roll to a lightly greased baking sheet, placing them seam-side down and spacing them about two inches apart. They should not touch. This spacing allows hot air to circulate evenly, which creates even browning.
Step 7: Bake Until Golden and Cooked Through
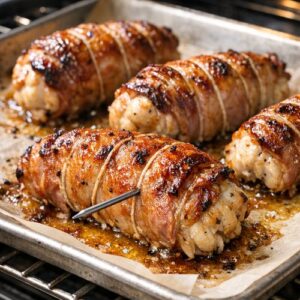
- Place your baking sheet on the center oven rack and bake for approximately 30 minutes, or until the exterior is golden brown and crispy. To verify doneness without cutting into them and releasing the filling, insert a meat thermometer into the thickest part of one roll—it should read 165°F. Make sure you're inserting the thermometer into the chicken itself, not the filling. The coating should be deeply golden, almost burnished-looking. If it's still pale after 25 minutes, give it another 5 minutes. Every oven runs slightly differently, so visually checking the color is as important as the timer.
Step 8: Make Your Sauce
- While the chicken bakes, combine your mayonnaise and mustard in a small bowl. Start with 1 teaspoon of mustard and whisk it into the mayo, tasting as you go. Add more mustard gradually if you like more tang—this is entirely about your preference. Some people want a subtle mustard whisper; others want it to be clearly present. Taste with a small spoon and adjust until it feels right. This sauce should taste bright and creamy, with no bitter notes. It's the finishing touch that ties everything together.
Notes
- Over-pounding the Chicken - The most frequent mistake is pounding too aggressively, which creates tears in the meat that allow filling to escape during cooking. Remember: you're tenderizing and evening thickness, not tenderizing meat for a schnitzel. Gentle pressure is your friend here.
- Skipping the Chilling Step - I understand the temptation to skip this when you're eager to bake. Don't. The chilling period allows everything to set and prevents the rolls from unraveling. It's 30 minutes that genuinely matters. If you're short on time, even 15 minutes helps significantly.
- Not Drying the Chicken Before Coating - Condensation from the refrigerator will cause your coating to slip off if the rolls aren't patted completely dry. Take 30 seconds per roll with paper towels. It matters.
- Using Old or Stale Cornflakes - Cereal loses its crispness over time. Make sure you're using cornflakes from a box you opened recently. Stale cereal creates a dull, less-crispy coating. If you're unsure about your cereal's freshness, use panko breadcrumbs instead.