
Ingredients
Method
Step 1: Prepare Your Dried Chiles
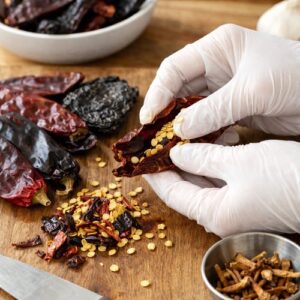
- Remove the stems and seeds from your chiles. You can wear gloves for this if you have sensitive skin—dried chiles have oils that can irritate. Place all the prepared chiles in a large bowl and pour 2 cups of hot (not boiling) water over them. Let them soak for exactly 15-20 minutes. This is different from the slow cooker method because you're controlling the hydration precisely. Too short and they're not soft enough to blend smoothly. Too long and they become mushy and lose flavor. The water should turn a beautiful red-brown color—that's flavor extracting.
Step 2: Pat Your Pork Completely Dry
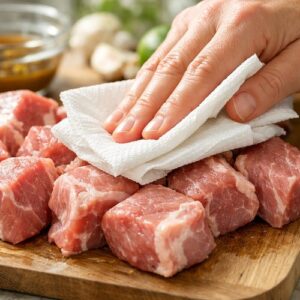
- Remove your pork loin from the refrigerator 20 minutes before cooking. Pat it completely dry with paper towels. Moisture on the surface creates steam, which prevents browning. You want a deep, caramelized crust, and that only happens when the surface is truly dry. This single step separates a good result from an exceptional one.
Step 3: Brown the Pork Over Medium-High Heat
- Heat your olive oil in a large heavy pot (5-6 quart capacity) over medium-high heat until it shimmers but doesn't smoke. Place the pork loin in the pot and don't move it for 4-5 minutes. You're building that flavorful crust. Flip and brown the other sides, about 3-4 minutes per side, for a total of 12-15 minutes browning time. The pork doesn't need to be cooked through—you're just creating color and flavor. Remove the pork to a clean plate and set it aside.
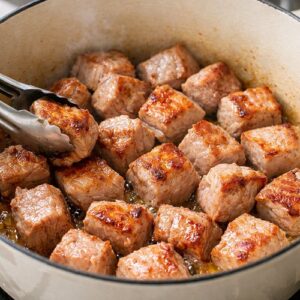
Step 4: Drain and Blend Your Rehydrated Chiles
- After your chiles have soaked, drain them in a fine-mesh strainer, reserving the soaking liquid. Place the softened chiles, garlic, onion, and 1 cup of the reserved soaking liquid into a blender. Blend until completely smooth—this should take 2-3 minutes. The consistency should be like tomato sauce, not chunky. If it's too thick, add a few tablespoons more soaking liquid. Strain this mixture through a fine-mesh strainer into a bowl, pressing gently with the back of a spoon. You're removing the tough chile skins so your sauce is silky smooth.
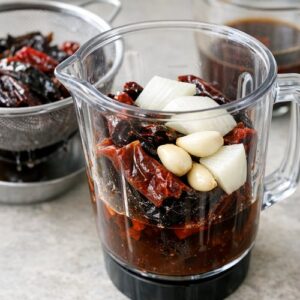
Step 5: Make Your Chile Paste in the Same Pot
- Your pot now has browned bits on the bottom—this is flavor gold. Pour the strained chile mixture into this pot over medium heat, stirring constantly for 2-3 minutes. This stops the burning of those browned bits and infuses them into your chile sauce. The paste will be thick and concentrated. Add your ground cumin, oregano, garlic powder, onion powder, and achiote if using. Stir constantly for 1 minute until the spices are evenly distributed and fragrant.
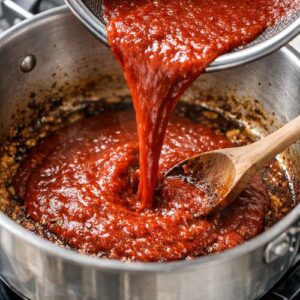
Step 6: Deglaze and Create Your Braising Liquid
- Pour 3 cups of beef broth into the pot slowly, stirring constantly to break up the chile paste and create a smooth sauce. Scrape the bottom of the pot where any browned bits remain. This should take about 2-3 minutes. The sauce will go from thick and concentrated to pourable but still rich. Add the bay leaves and fine sea salt. Taste it here and adjust salt if needed. Remember that the pork will release its own flavoring as it braises.
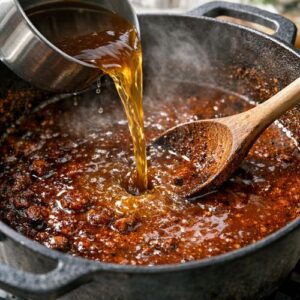
Step 7: Return the Pork and Begin Simmering
- Place the browned pork loin back into the chile sauce. The liquid should come about three-quarters of the way up the sides of the pork. If you need more liquid, add a bit more broth. Stir in the baking powder—this will bubble slightly, which is exactly what should happen. The baking powder neutralizes acidity and creates a silkier texture. Bring the mixture to a gentle simmer, then reduce heat to medium-low. Place a lid on the pot but leave it slightly ajar so steam can escape.

Step 8: Braise Until the Pork Is Perfectly Tender
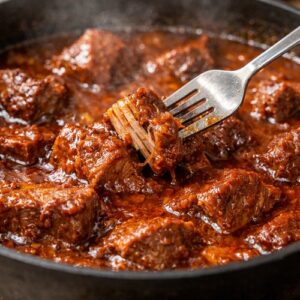
- Let the pork simmer for 90 minutes to 2 hours, depending on the thickness of your roast. The meat is done when a fork inserted into the thickest part pierces easily and the meat barely resists. You're looking for tenderness, not falling-apart texture. About halfway through cooking (around 45-50 minutes), carefully flip the pork so both sides cook evenly in the sauce. During this time, the sauce reduces slightly, concentrating flavors. You'll notice the color deepens from bright red to a richer burgundy tone. This is the visual signal that flavors are developing. The kitchen will smell incredible—that's the layered spices and pork creating aromatic compounds that signal to your brain that something nourishing is happening.
Step 9: Finish and Adjust Seasoning
- Remove the pork from the pot and place it on a cutting board. Let it rest for 5-10 minutes before slicing. While it rests, turn the heat to medium and let the sauce simmer uncovered for 5 minutes to thicken slightly. Taste and adjust the salt if needed. If you want a brighter finishing note, add the lime juice now. The sauce should coat the back of a spoon but still be pourable. If it's too thin, simmer another 3-5 minutes. If it's too thick, add a splash of broth.
Step 10: Slice and Serve
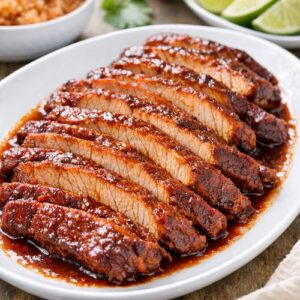
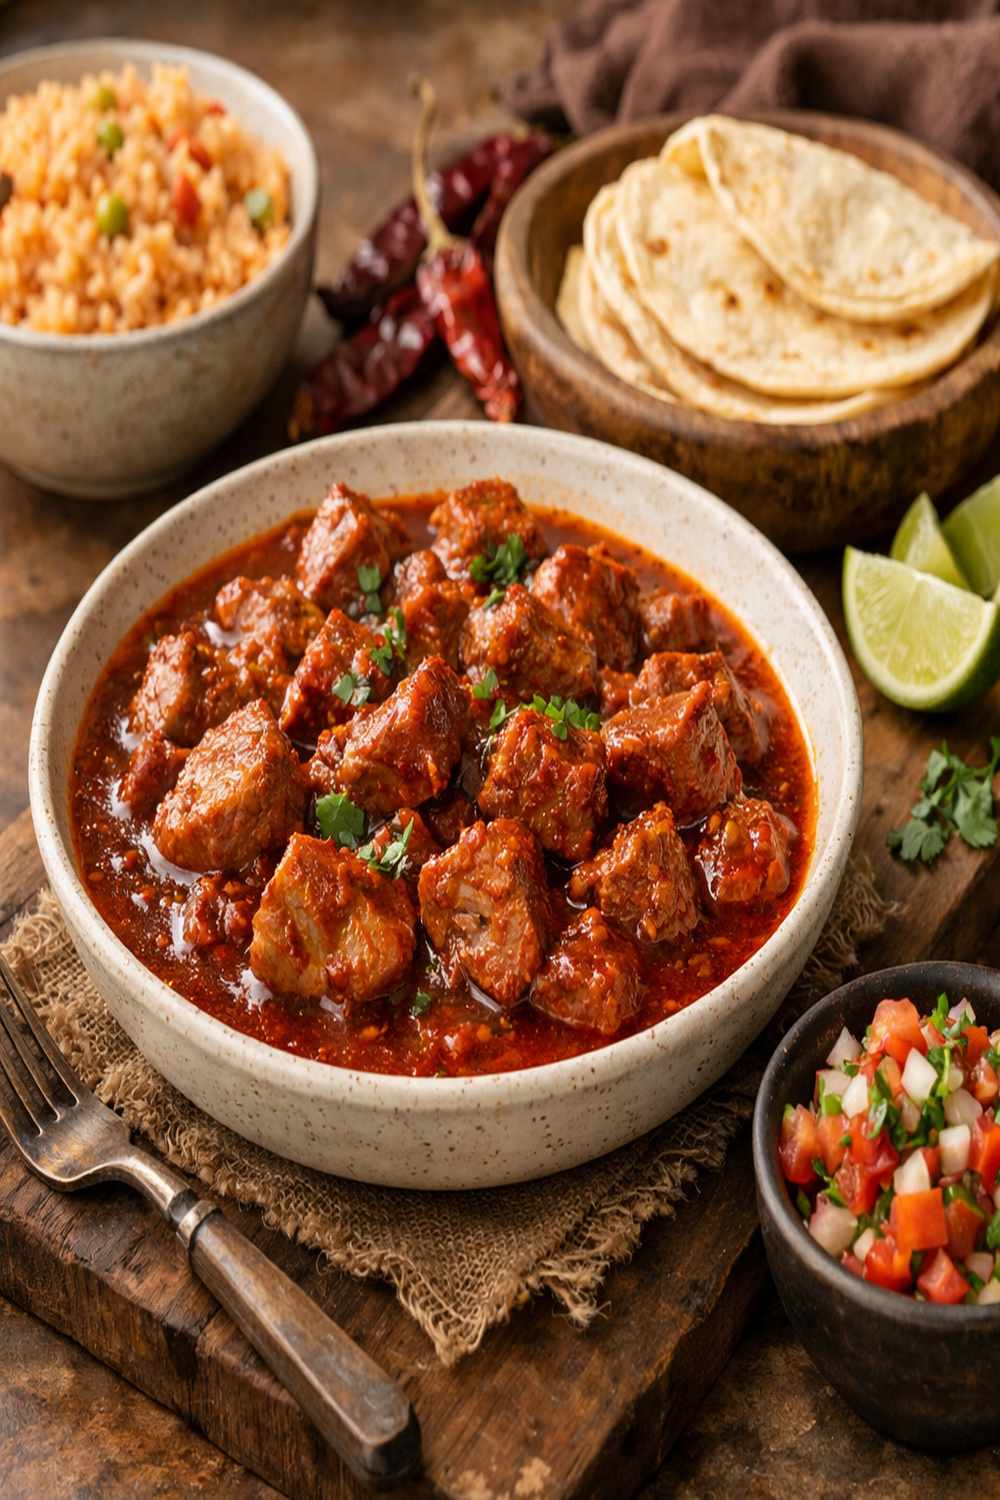
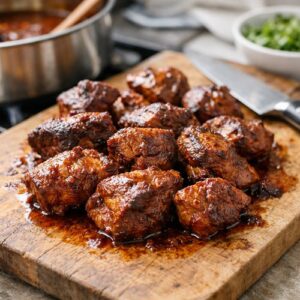
- Slice the pork against the grain into ¼-inch-thick slices. This ensures each bite is tender rather than stringy. Arrange the slices on a serving platter and pour the warm chile sauce over them. The sauce should cling to the meat, creating a beautiful presentation. Serve immediately while everything is warm.