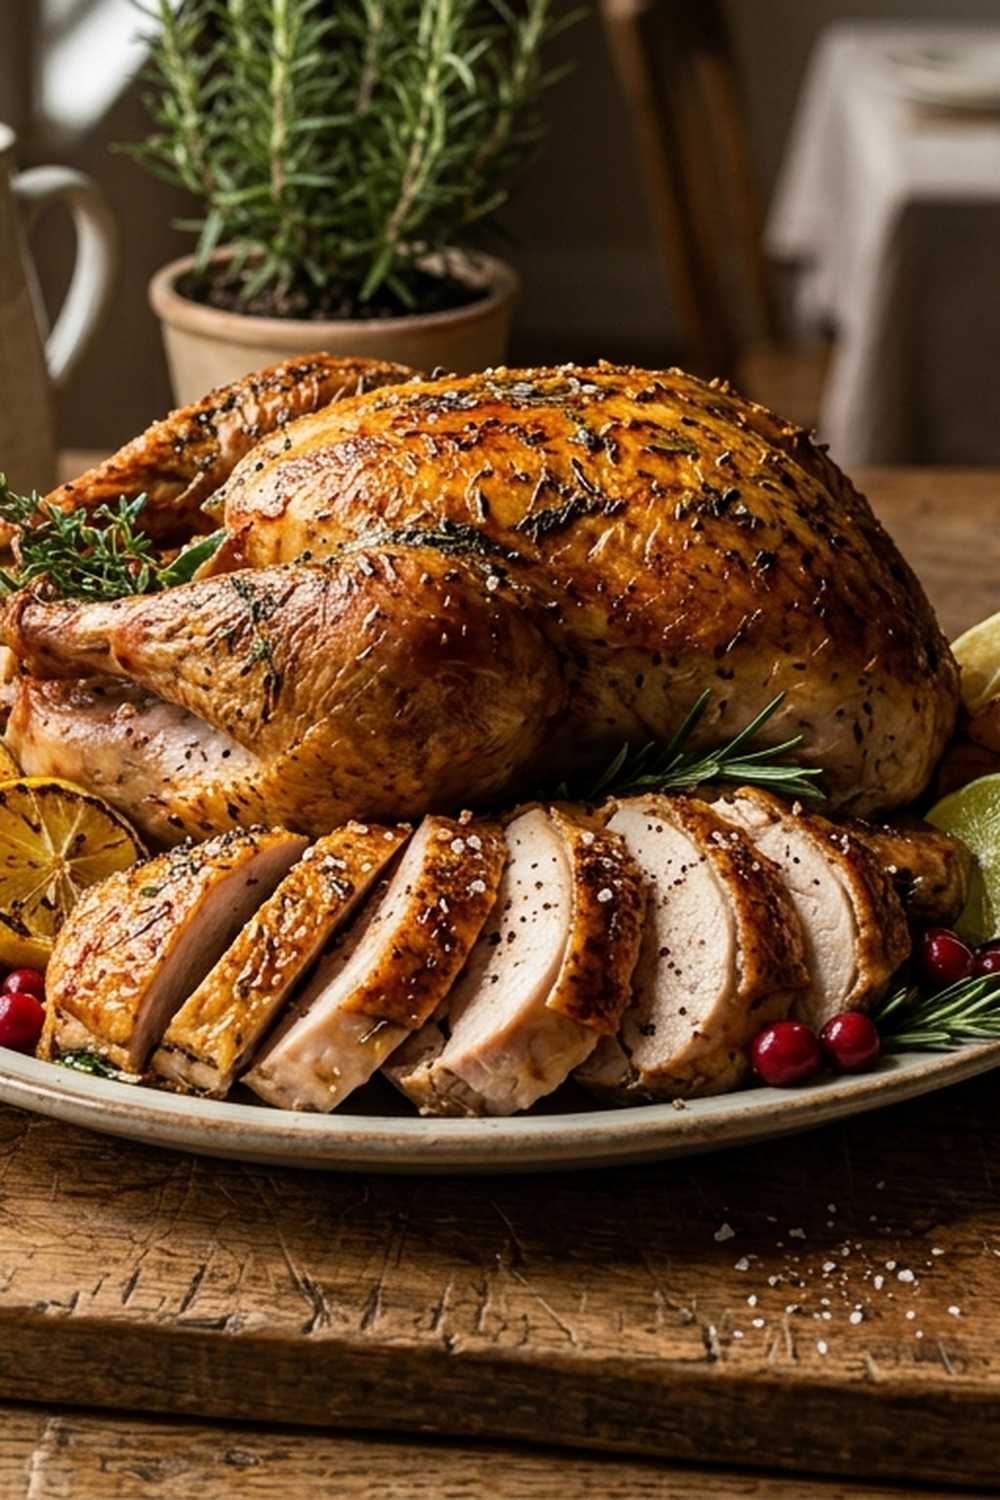

Ingredients
Method
Step 1: Combine Your Aromatics and Spices
- Start by gathering your lemon slices, orange slices, garlic cloves, peppercorns, cinnamon stick, bay leaves, sage, ginger, and thyme in a large stainless steel pot. (Never use aluminum or reactive metals for brining—they can interact with the salt and citrus.) Don't worry about being precious here. You can break the cinnamon stick into pieces. You can tear the sage into rough pieces. This is about releasing flavors, not creating a spa bath.
- Kids can help by: Measuring the peppercorns with a small spoon and dropping them into the pot. Tearing sage leaves. Smashing garlic cloves.
Step 2: Add Salt and Honey, Then Pour in Water
- Add the kosher salt and honey to your pot with all the aromatics. Pour in half your water (the ½ gallon). This is where your family members who are learning ratios can see how much salt dissolves in how much water—it's a practical chemistry lesson.
- Safety note for kids: If children are helping, have them step back before you turn on the heat. Hot liquid and young hands don't mix.
Step 3: Bring the Brine to a Boil
- Turn your heat to medium-high and watch until you see active bubbles breaking across the entire surface—that's a rolling boil. This takes about 8 to 10 minutes. Let it boil for exactly 1 minute. This dissolves the salt completely and makes sure the honey is fully incorporated. The brine will smell incredible at this point—warm, citrusy, herbaceous. Take a moment to appreciate this smell.
Step 4: Cool the Brine Completely Before Adding Your Turkey
- This step cannot be rushed. I've seen people try to shorten it, and it never ends well. Remove your pot from heat. Pour the remaining ½ gallon of cold water into the brine. Stir well. Now let it sit on the counter for at least 15 minutes, or ideally, refrigerate it for 30 minutes until it reaches room temperature. You want this brine completely cool before your turkey touches it, or you'll start cooking the outer layer of meat while the inside stays raw.
- To speed this up: Fill your sink with ice water and set the pot in the ice bath, stirring occasionally. This cuts cooling time to about 10 minutes.
Step 5: Prepare Your Turkey
- Remove your turkey from the packaging. Rinse it under cool running water, inside and out. Pat it completely dry with paper towels. This step matters more than people realize—excess moisture on the skin prevents browning. Pat until your towels come away barely damp.
- Check that your turkey fits in your brining vessel (a large food-grade plastic container or a brining bag). If you're using a bag, set it in a large bowl first—this prevents leaks and makes it easier to pour the brine.
- Safety reminder: Raw poultry requires clean hands and surfaces. Wash your hands thoroughly after handling, and don't let the turkey touch surfaces where you've prepared other foods.
Step 6: Submerge Your Turkey in the Brine
- Carefully place your turkey into your brining vessel. Pour the cooled brine over the turkey until it's completely covered. Every part of the bird should be submerged. If any part sticks above the brine, it won't cure properly. If your turkey keeps floating, you can weigh it down with a small plate on top.
- Kids can help with: Pouring the brine (with adult guidance) and watching to make sure the turkey is completely covered.
Step 7: Refrigerate for 24 Hours
- Cover your container and place it in the refrigerator. Set a timer for 24 hours. This is the patience part. Do not skip this step or shorten it. The brining time is when the magic happens—the salt breaks down proteins, the herbs infuse, the citrus tenderizes the meat from the inside. You cannot rush excellence.
Step 8: Remove, Rinse, and Dry Your Turkey
- After exactly 24 hours, remove your turkey from the brine. Hold it over the container to let the brine drain, then transfer it to your sink. Rinse it thoroughly under cool running water, inside and out. You're removing excess salt from the surface. Pat it completely dry with paper towels.
- Now your turkey is ready to roast using your favorite