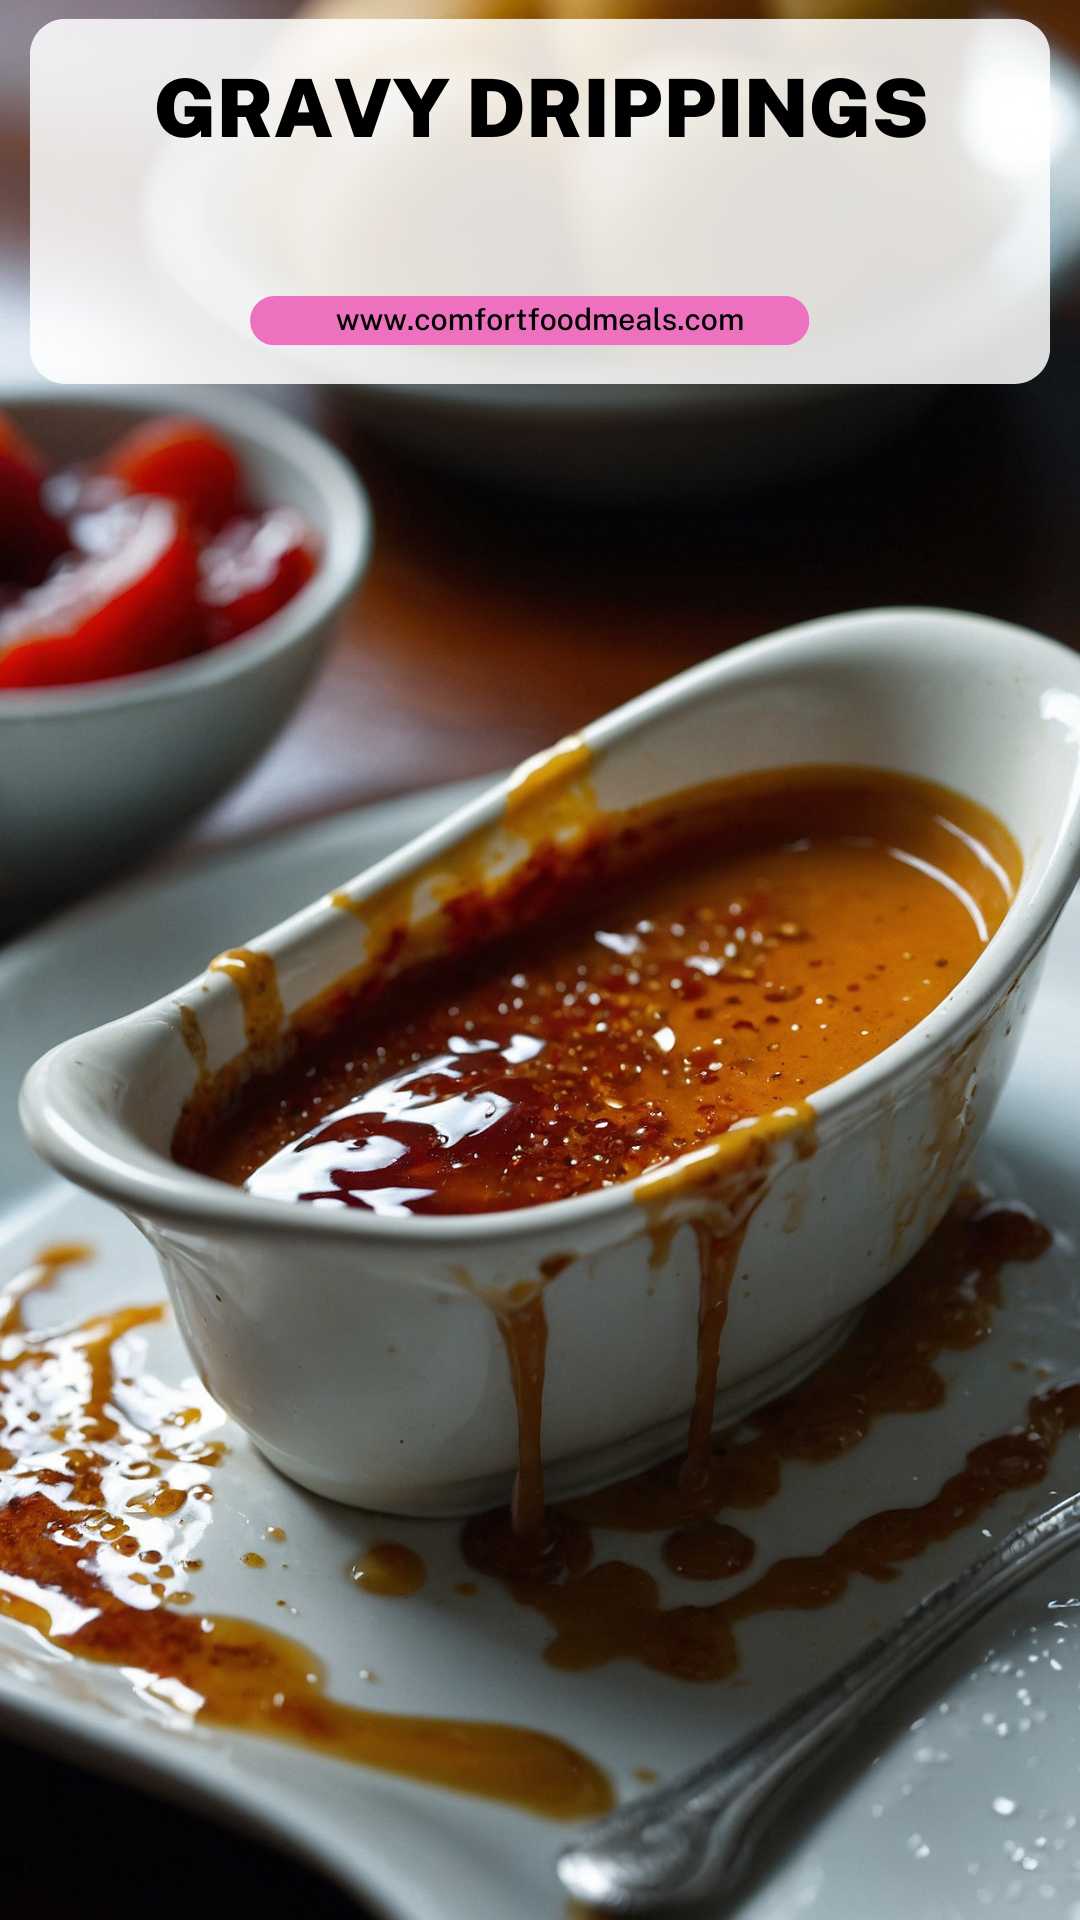
Ingredients
Method
Step 1: Gather Your Drippings
- After roasting your meat, allow it to rest for a few minutes while you collect your drippings. Make sure to carefully pour off the excess fat from the roasting pan. Use a fat separator if you have one.
Step 2: Create a Roux
- In a separate saucepan over medium heat, add the butter. Once it melts, quickly whisk in the flour. It's essential to stir continuously for about two minutes. This step cooks out the raw flour taste and gives the gravy a lovely base.
Step 3: Incorporate the Drippings
- Gradually whisk in the skimmed drippings and any other liquid you’re using (chicken stock, etc.). Whisking continuously helps prevent lumps from forming. Keep stirring until the mixture begins to thicken.
Step 4: Flavor It Up
- Once the drippings are fully incorporated, add the Dijon mustard and garlic powder. These ingredients enhance the gravy's flavor profile significantly.
Step 5: Adjust Consistency
- While whisking, slowly add in your warm water, stock, or milk until the desired consistency is reached. For thicker gravy, use less liquid.
Step 6: Season to Taste
- Finally, taste your gravy and add freshly squeezed lemon juice, salt, and black pepper to balance the flavors. This step is crucial; it can make or break your dish!
Notes
- Use a Fat Separator: This gadget helps you easily separate fat from drippings, leaving you with pure flavor.
- Don’t Skimp on the Cooking Time: Allow the roux to cook for at least two minutes to get rid of the raw flour flavor.
- Avoid Lumps: Whisk continuously while adding liquid; this will help create a smooth gravy without lumps.
- Experiment with Add-ins: Try adding herbs like thyme or rosemary for added flavor.
- Serve Immediately: Gravy drippings taste best fresh. If you need to store them, see the storage section below.